Tables
Adding a table
You can add a table in two ways:
- 1 Adding an element
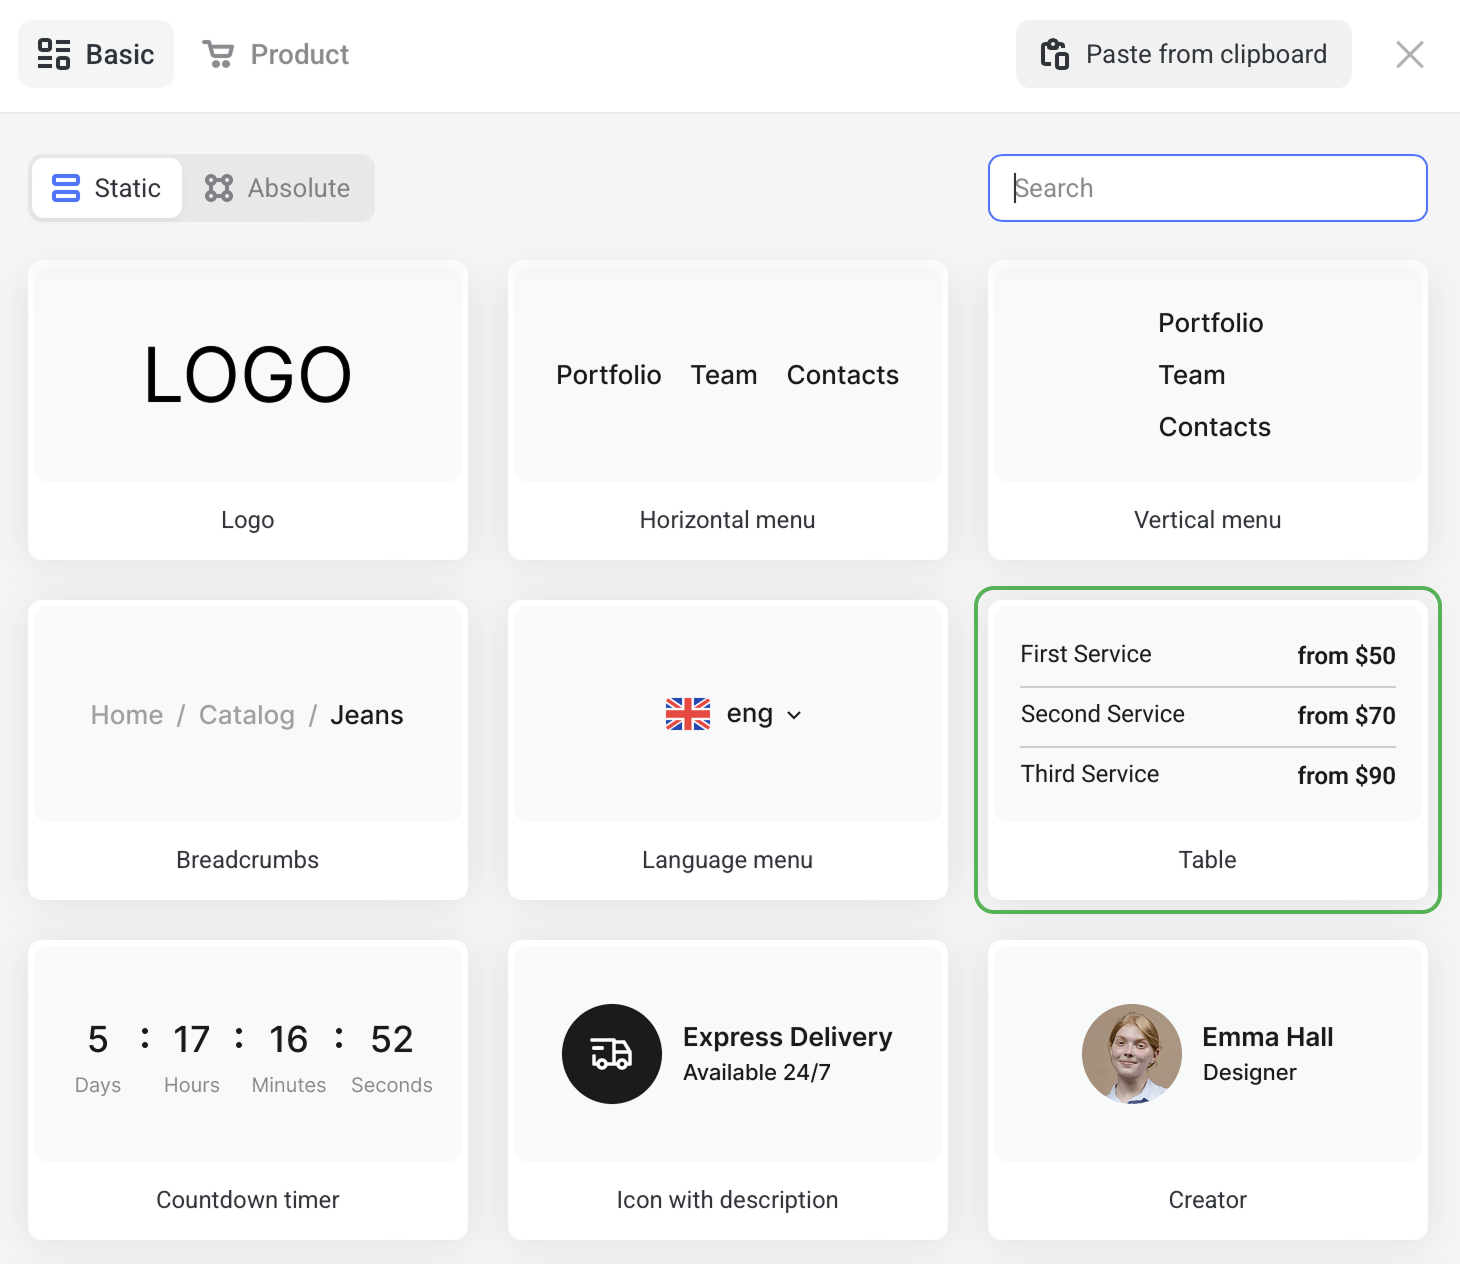
To add a table element, hover over an element and click on the blue + icon. Then choose the Table element on the list.
- 2 Adding a section
To add a Table section, click on the blue + icon under any section. If you are on a blank page, the + icon will be in the center of the viewport.
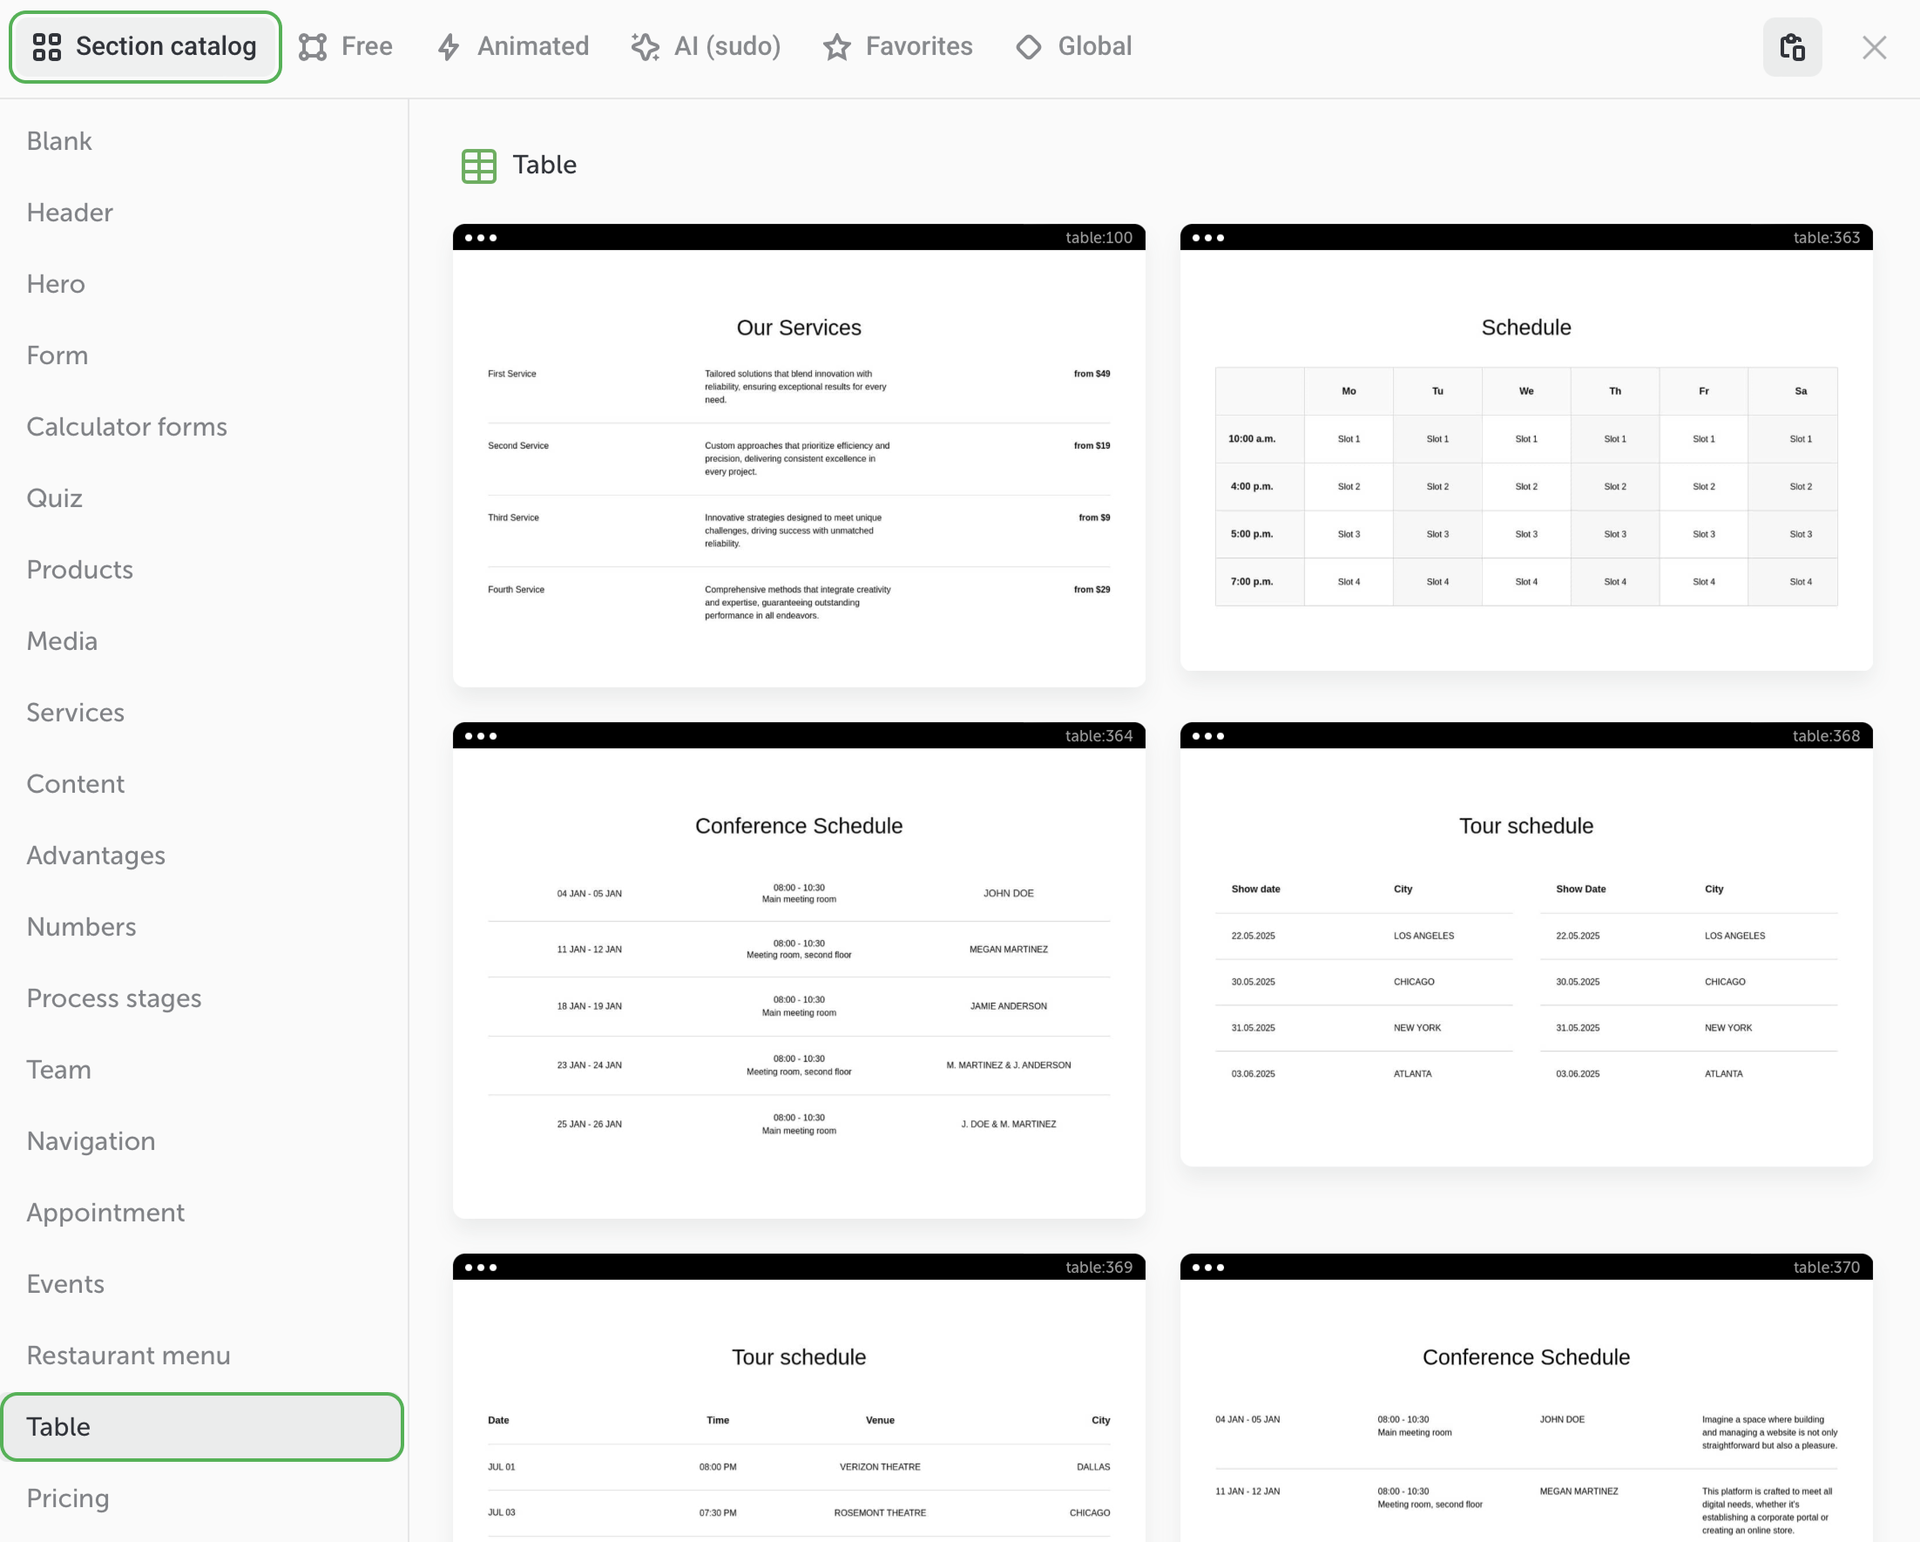
In the section catalog, choose one of the ready-made Tables sections.
To insert a row or a column, click Add column in the top right corner or Add row at the table bottom.
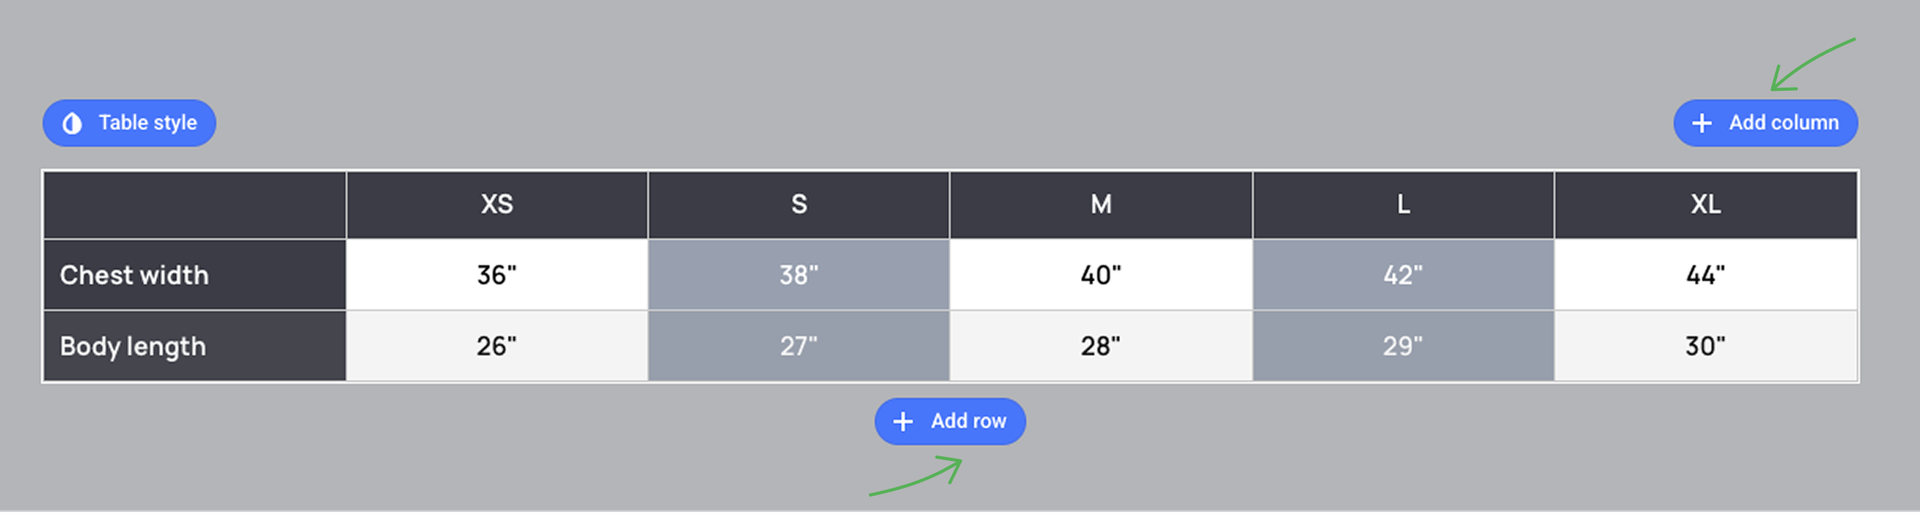
NOTEWhen you add a row/column, the previous one is copied automatically.
Table style
To customize the look of your table, click on the gear icon and select Table style.
Here you can switch between two tabs: Table and Header.
Go to the Table tab, to style the grid lines, table content, set up paddings, etc.
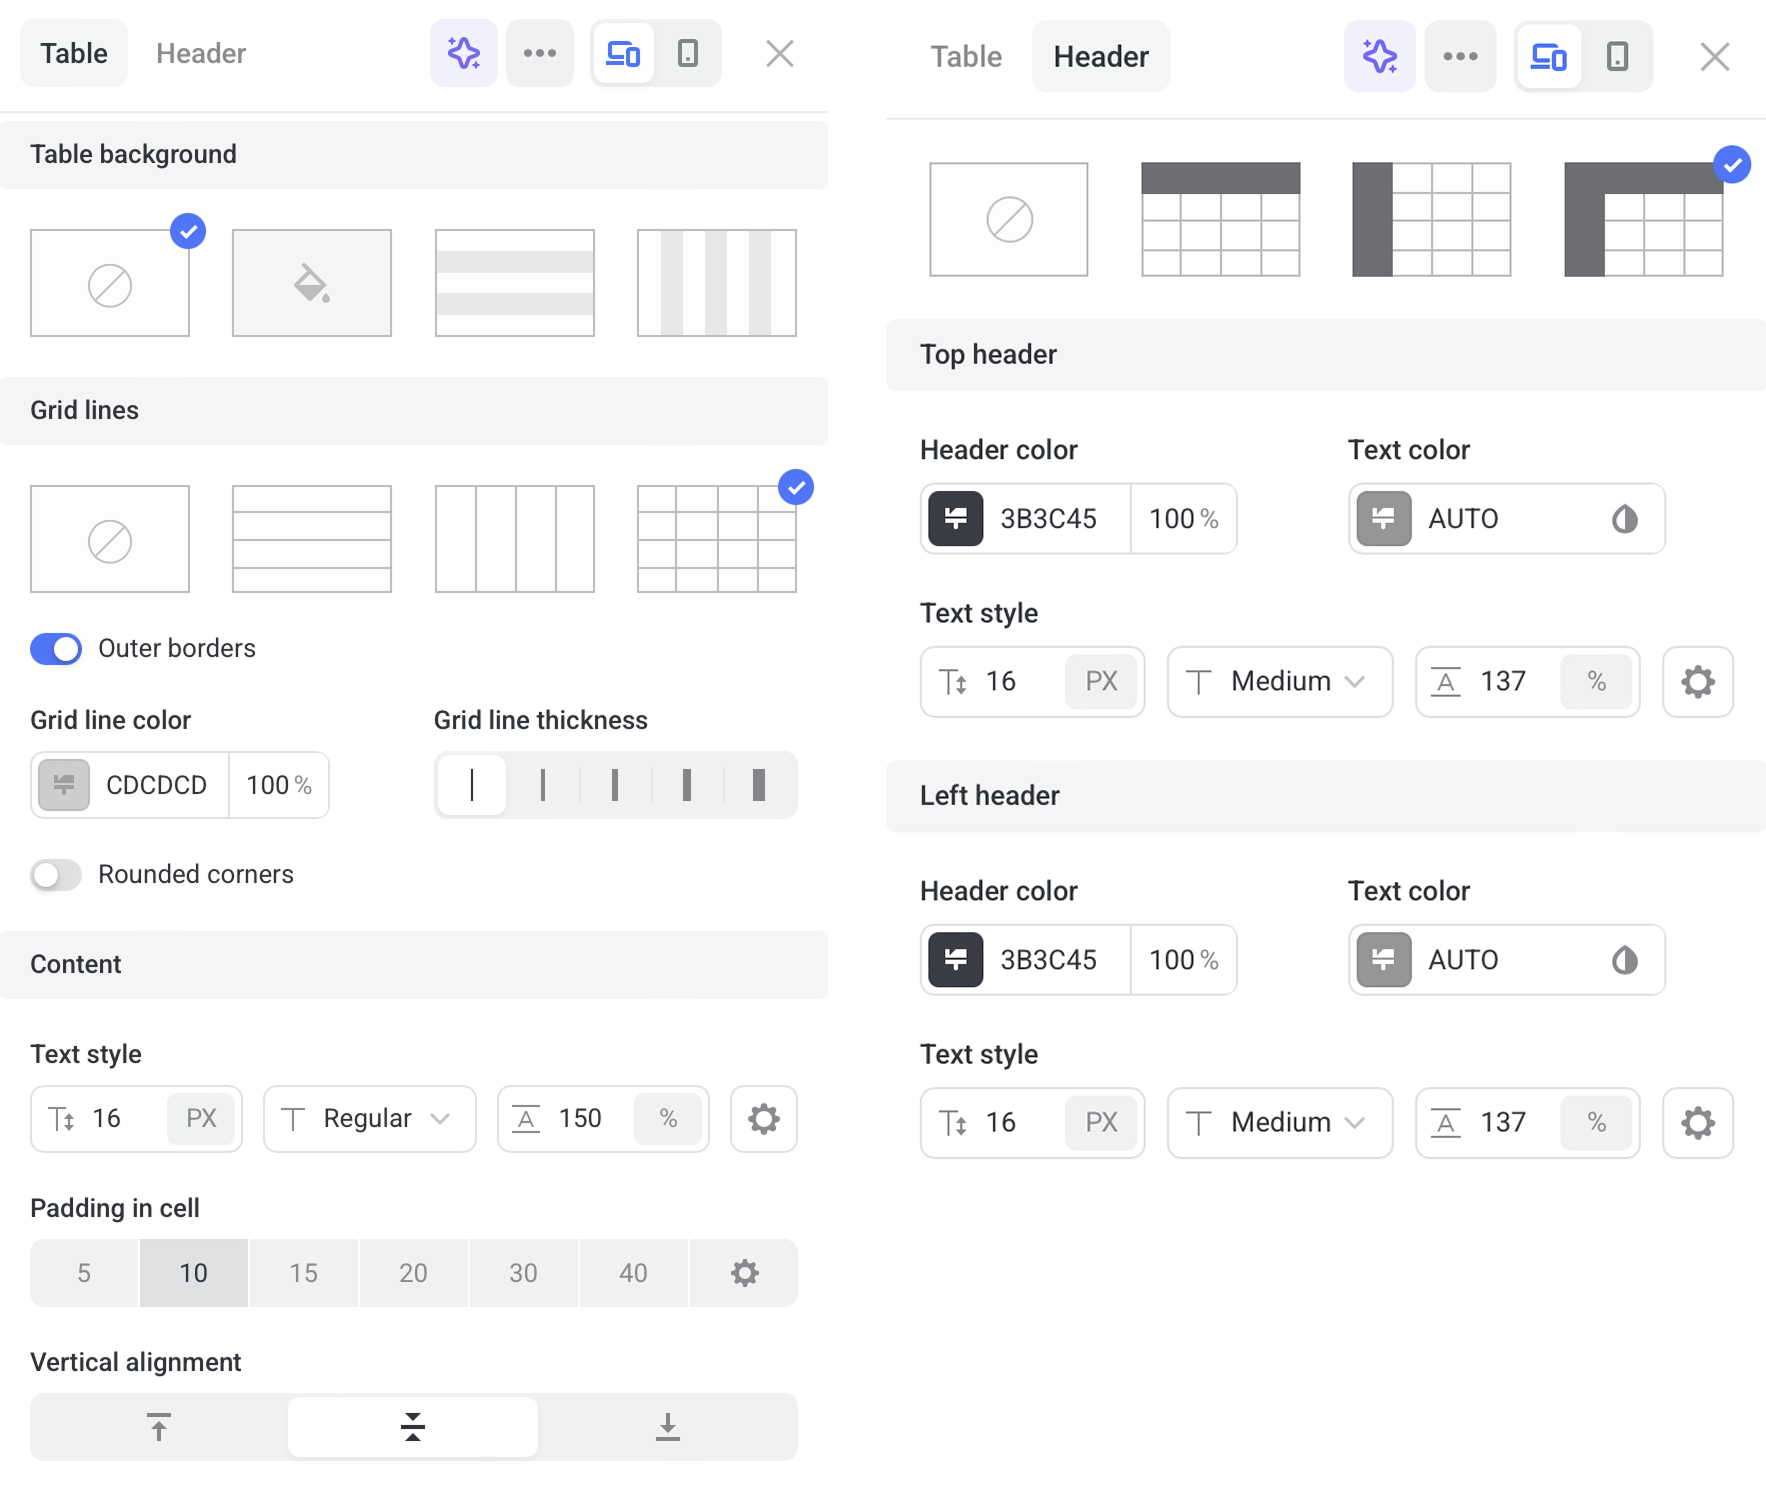
Go to the Header tab to customize the header color, text style and color.
To maky your table easy to scan, add alternating colors to the table rows / columns.
TIPIt comes in handy if you want to style the table in your brand's colors.
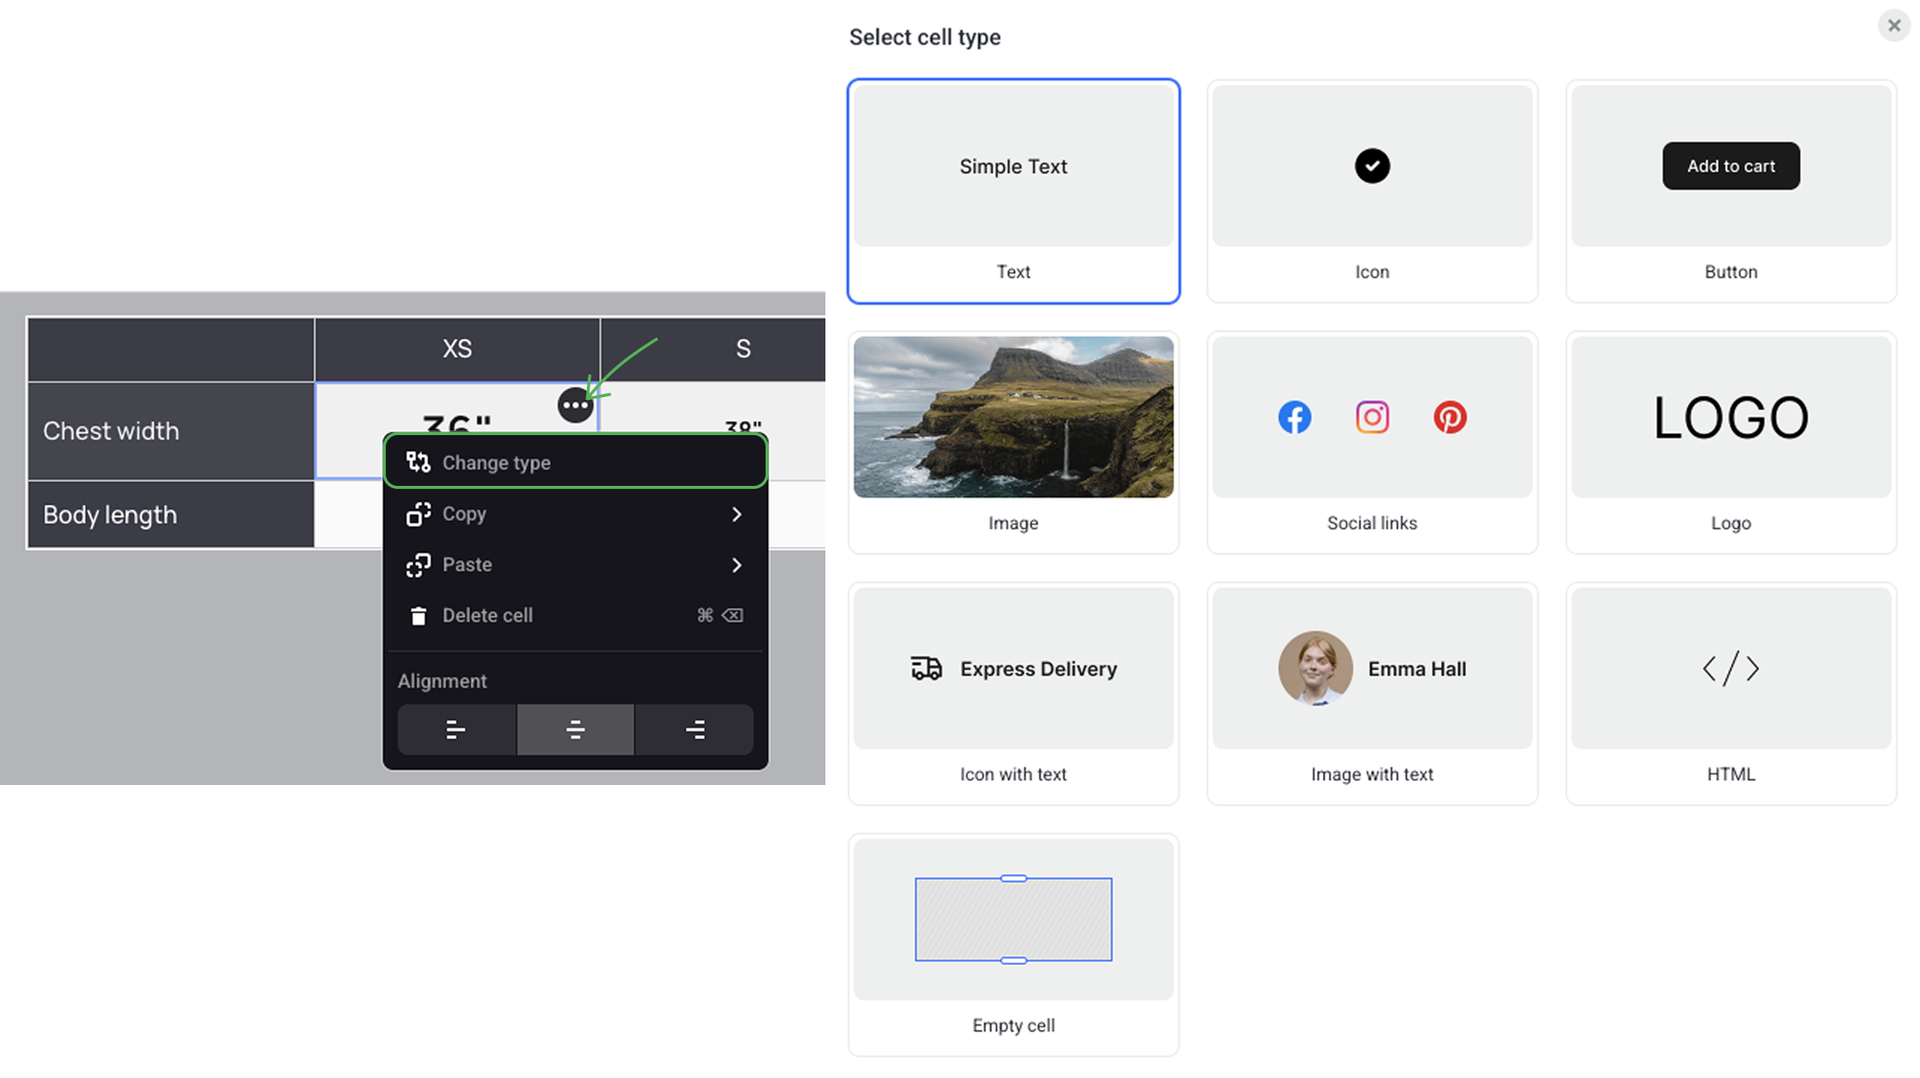
You can add different types of content to your table, such as images, buttons, icons, or leave cells empty.
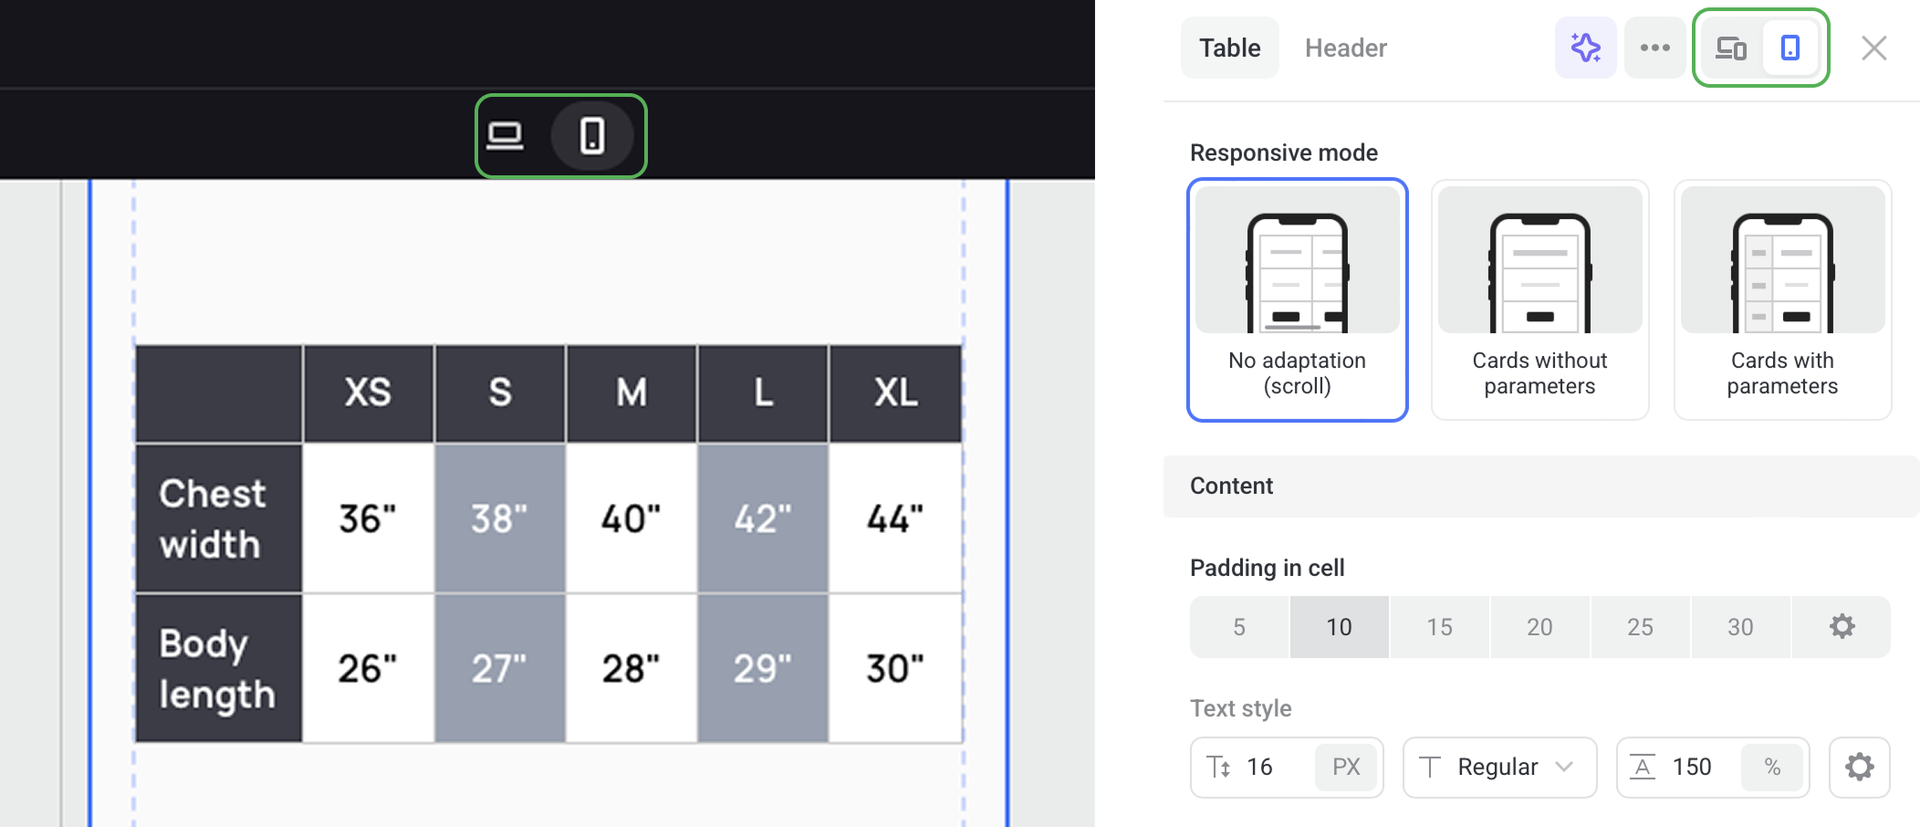
Swithc to the Mobiles only mode to set up the way your table will display on smarthphones.