Global text styles
You can create a set of text styles for the whole site instead of setting up each text element separately. These styles will automatically apply to all text elements on your site.
By default, there are 7 system styles that cannot be deleted:
- Heading 1 - for most important headings, for example, in hero sections.
- Heading 2 - for main page headings, for example, section heading.
- Heading 3 - for headings in cards and columns.
- Heading 4 - for subheadings in the cards and columns.
- Subheading - for section subheadings.
- Text - for the copy of the page.
- Caption - small descriptions, for example, below the images.
- Quotation - for citations.
NOTEYou can also add custom text styles and apply them to individual elements on the page.
When you choose Headings 1–4 style types for a text element, their SEO tags are set up automatically.
Setting up text styles
Click Text styles on the editor panel in the top left corner. The icon can be labeled or not depending on the viewport height of your monitor.
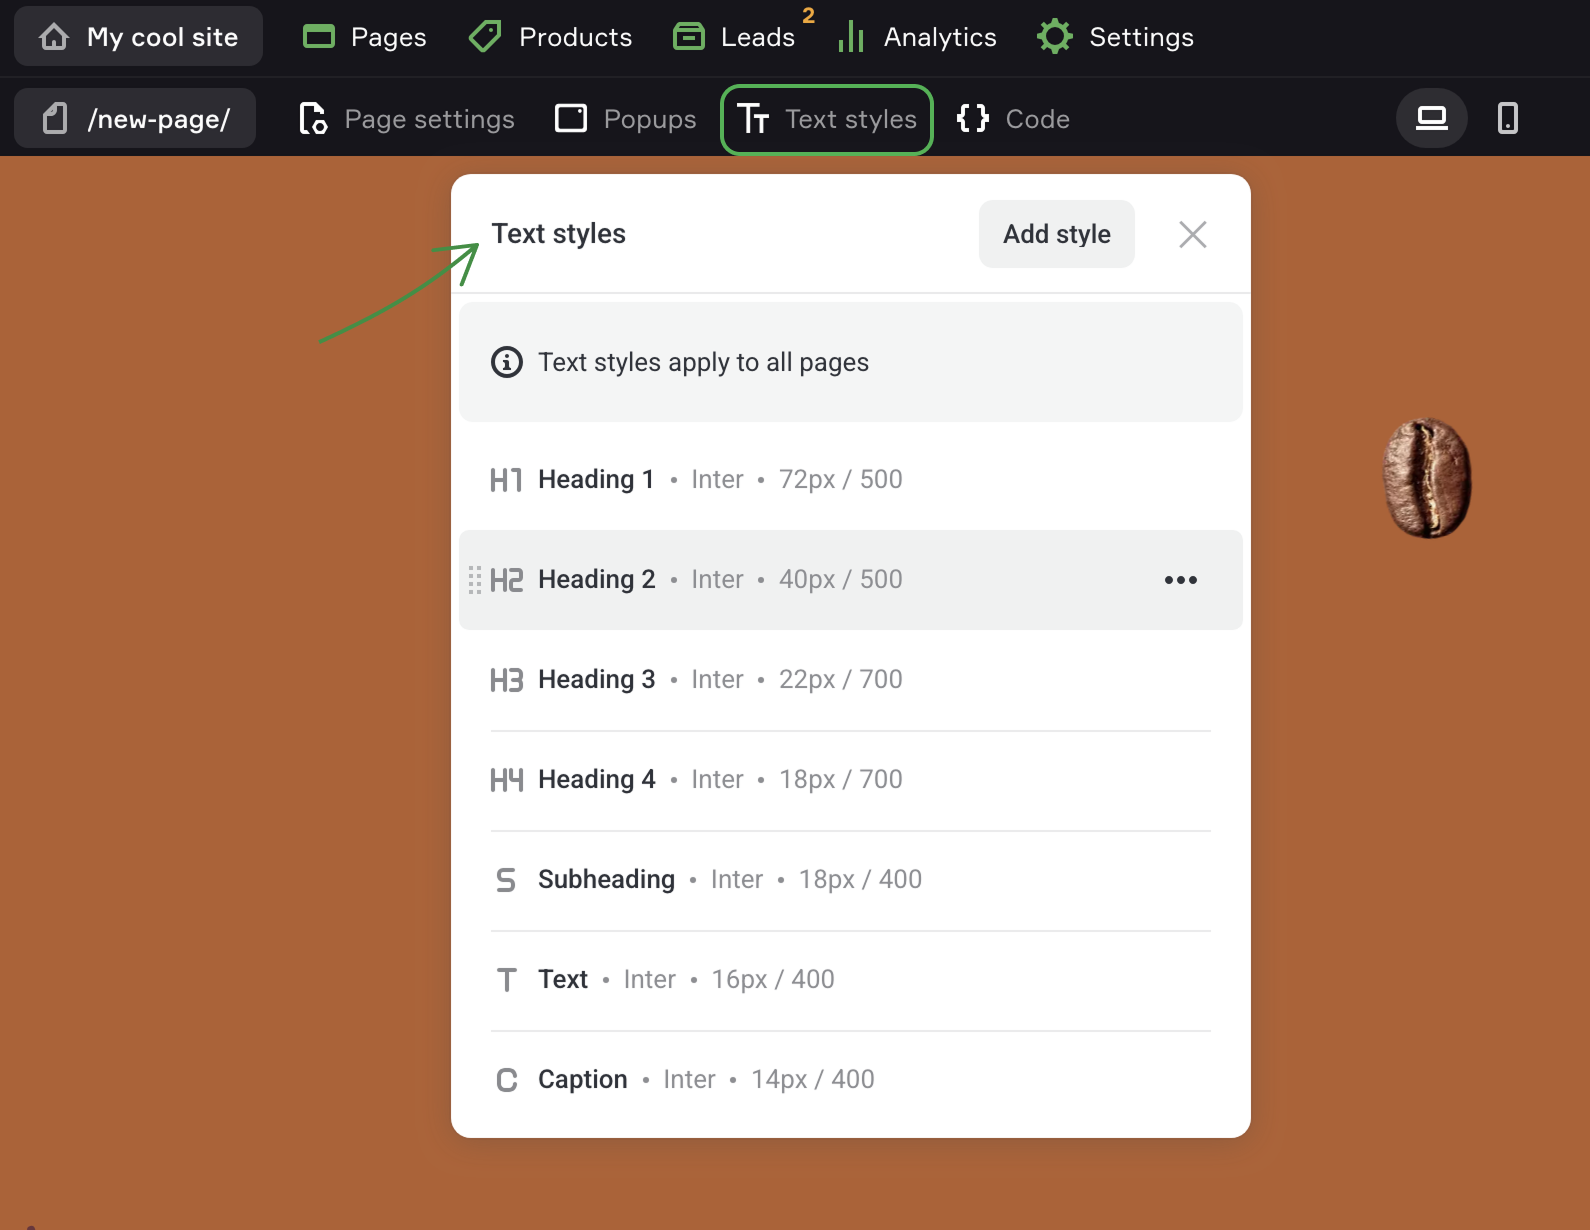
You can choose a font family, set up its size and weight, line height, letter spacing as well as to specify a different array of settings for mobile devices.
Special features of text styles
-
️ Styles are applied to all pages of the site.
-
️ Default styles apply to sections you select in the section catalog.
-
️ Text style applies to the whole page and can also affect third-party widgets.
-
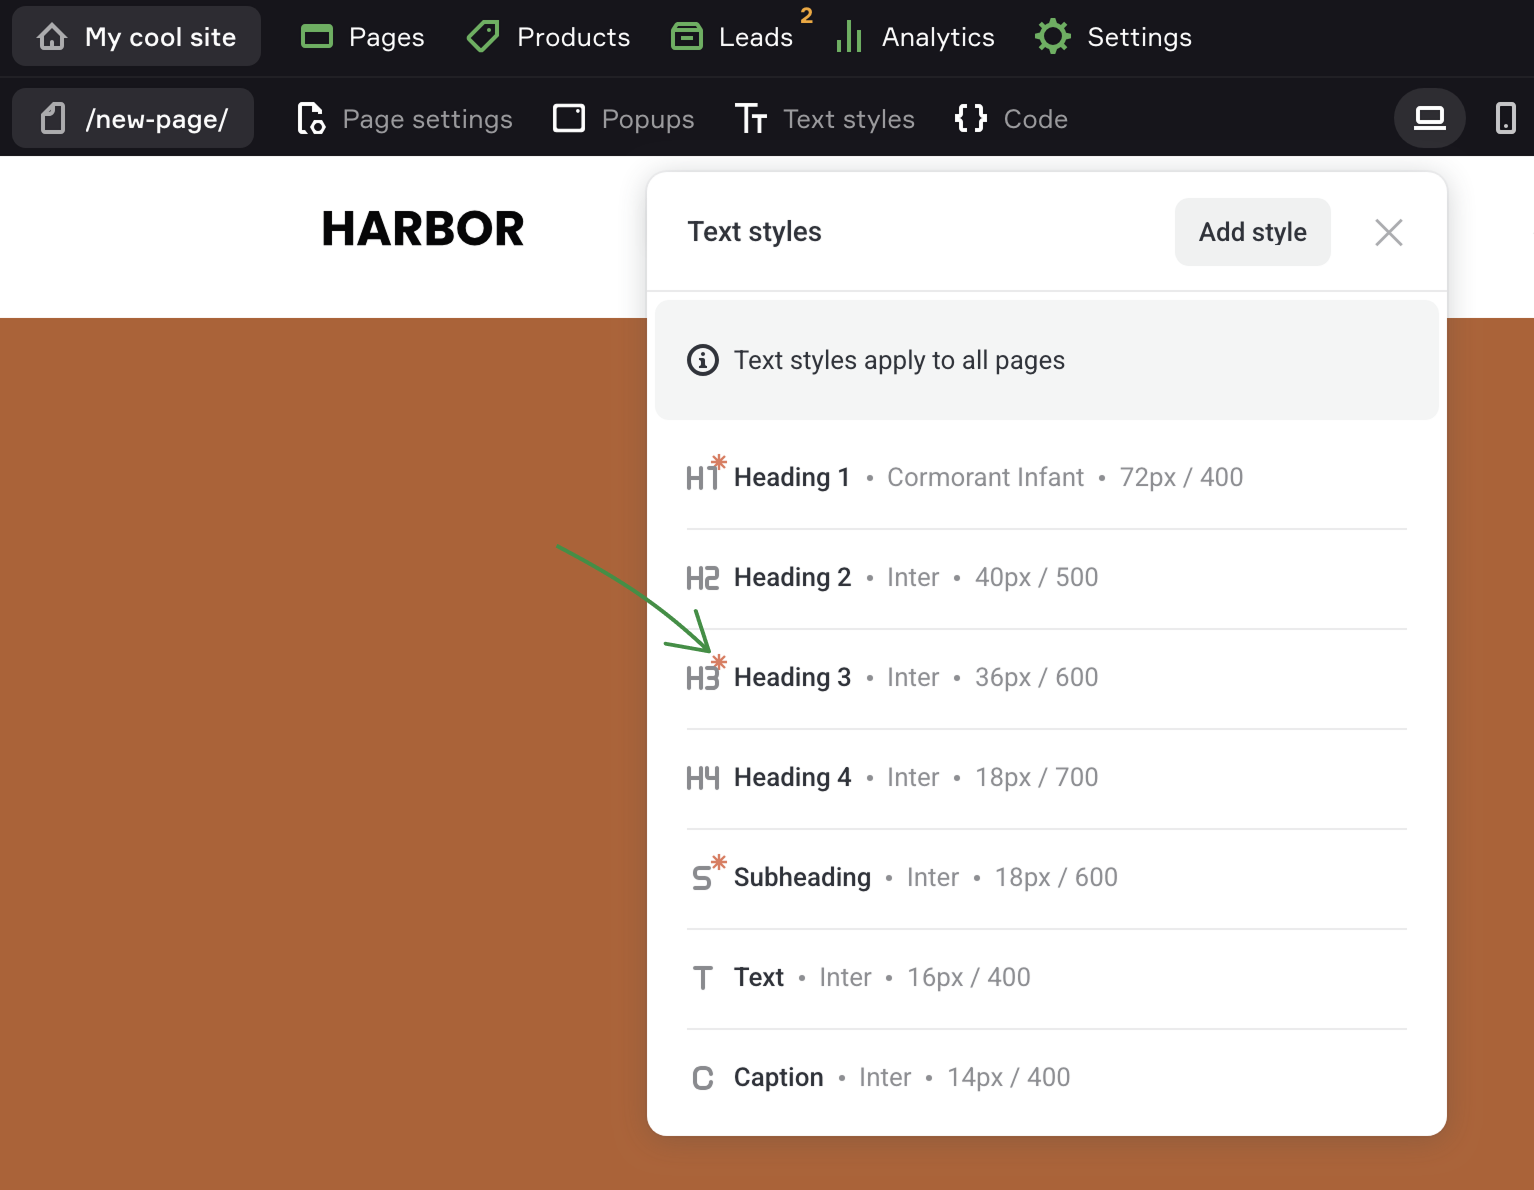
️ Each style can be overridden for a particular page. An overridden style is marked with a red asterisk (*). It applies only to the elements of the current page.
Overriding styles for a particular page
If necessary, you can override any text style for a particular page. Changes of this style will apply only to the current page.
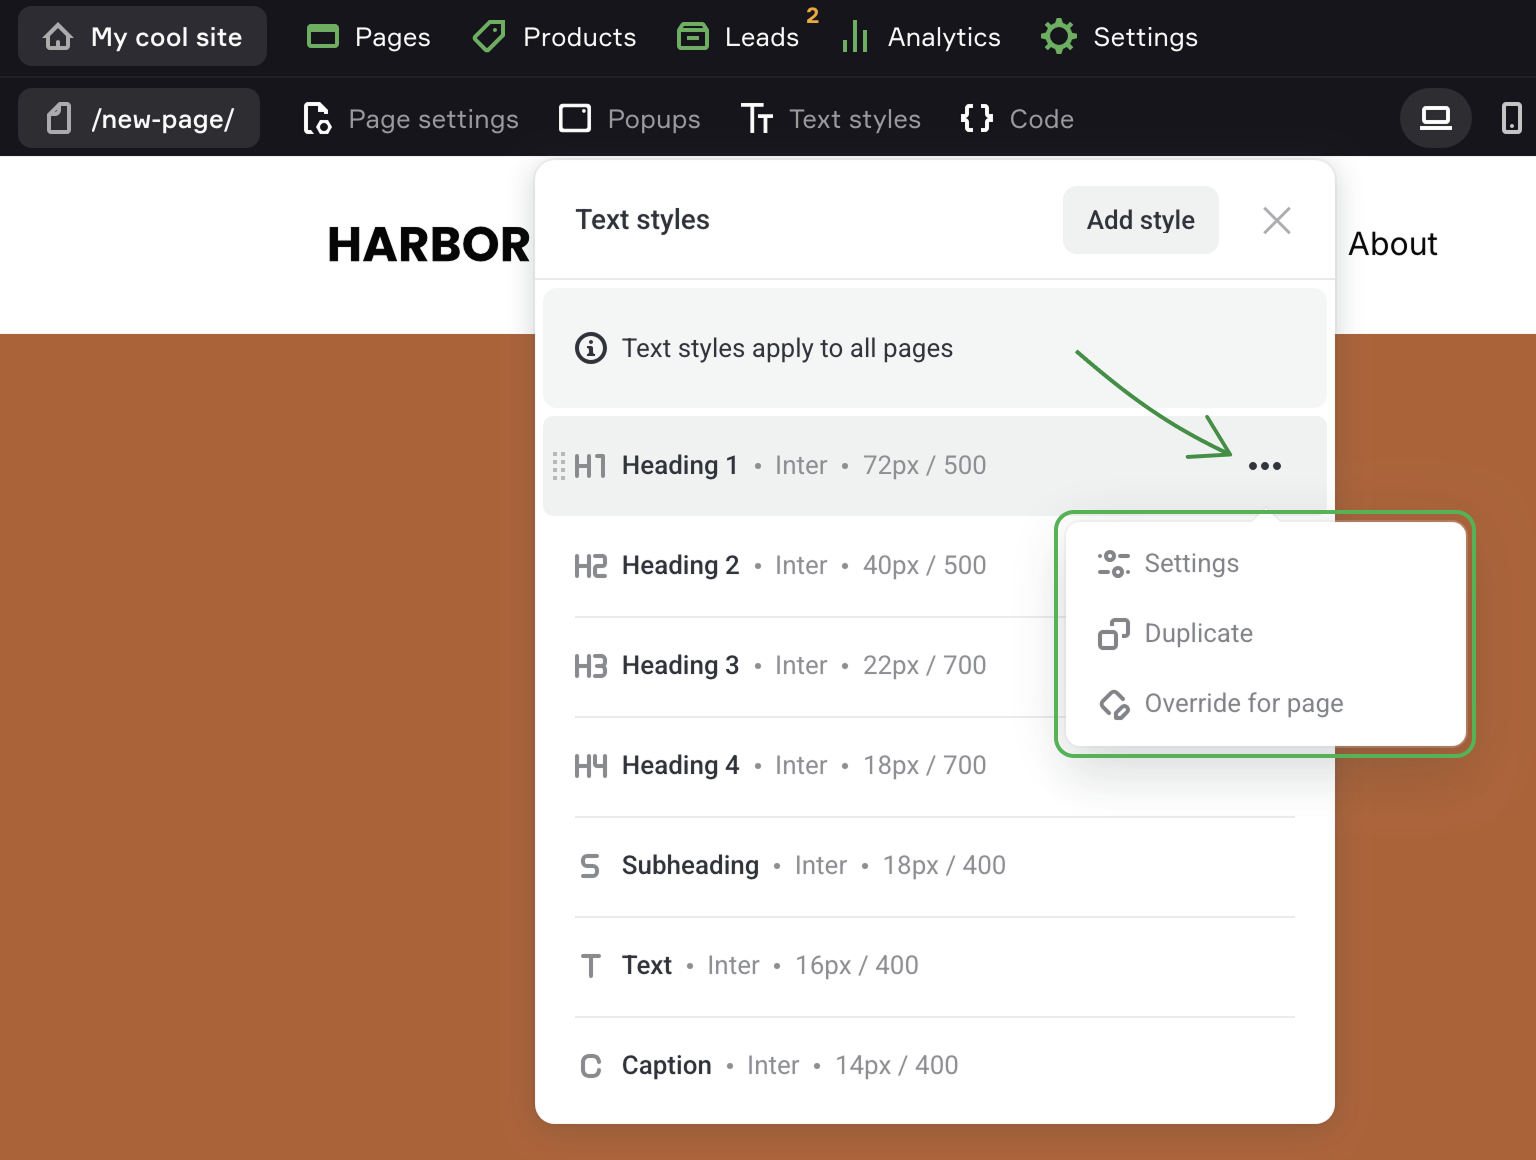
If a style on the page was overridden, you will see a red asterisk (*) next to its label.
NOTEOverride option doesn't apply to global sections as they inherit styles of the pages where they're located.
Overriding a style for a particular element
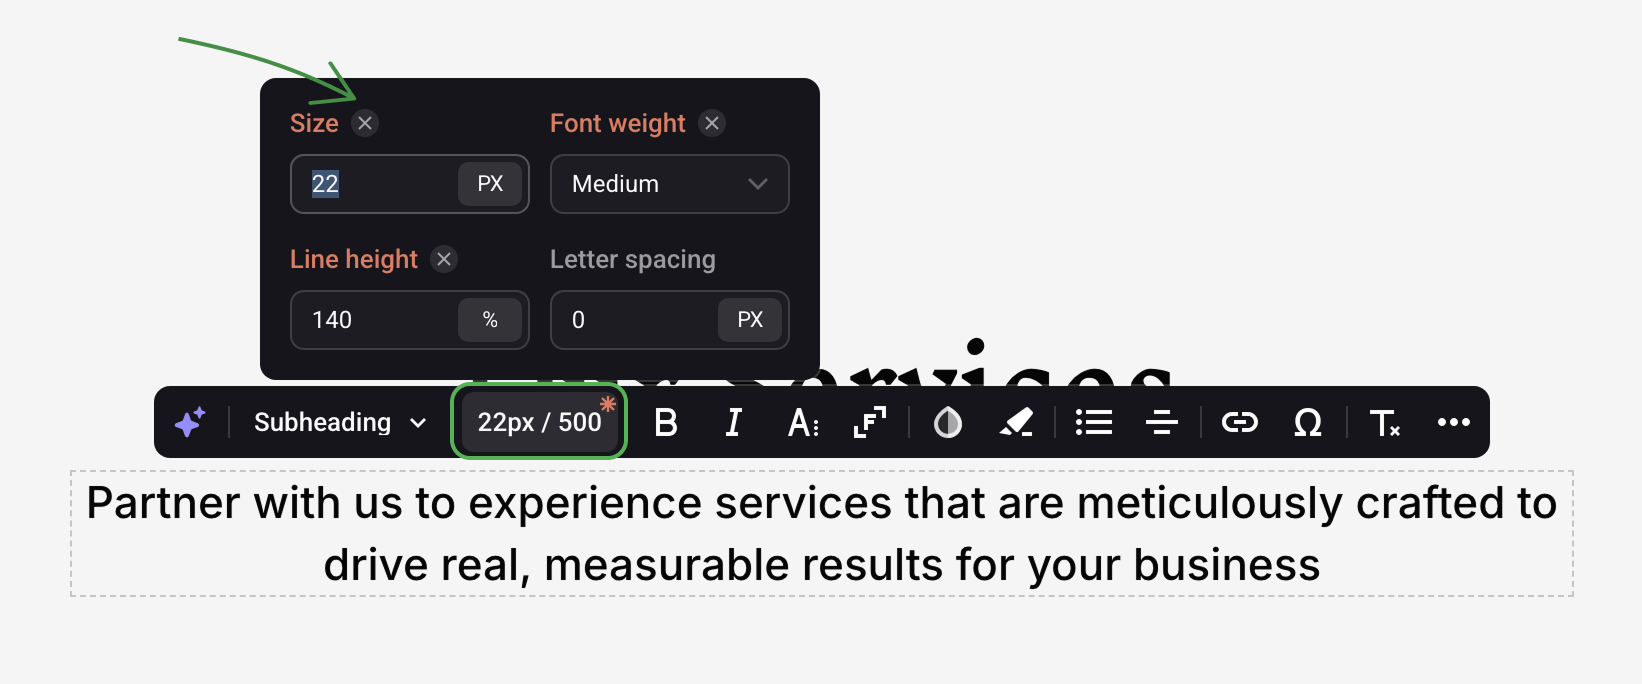
You can also override the text style for a particular element.
This comes in handy when you prefer to set up every element individually (without using global styles).
You can override the following values:
- text size (in PX or REM)
- line height (in % or REM)
- font weight
- letter spacing (in PX or REM)
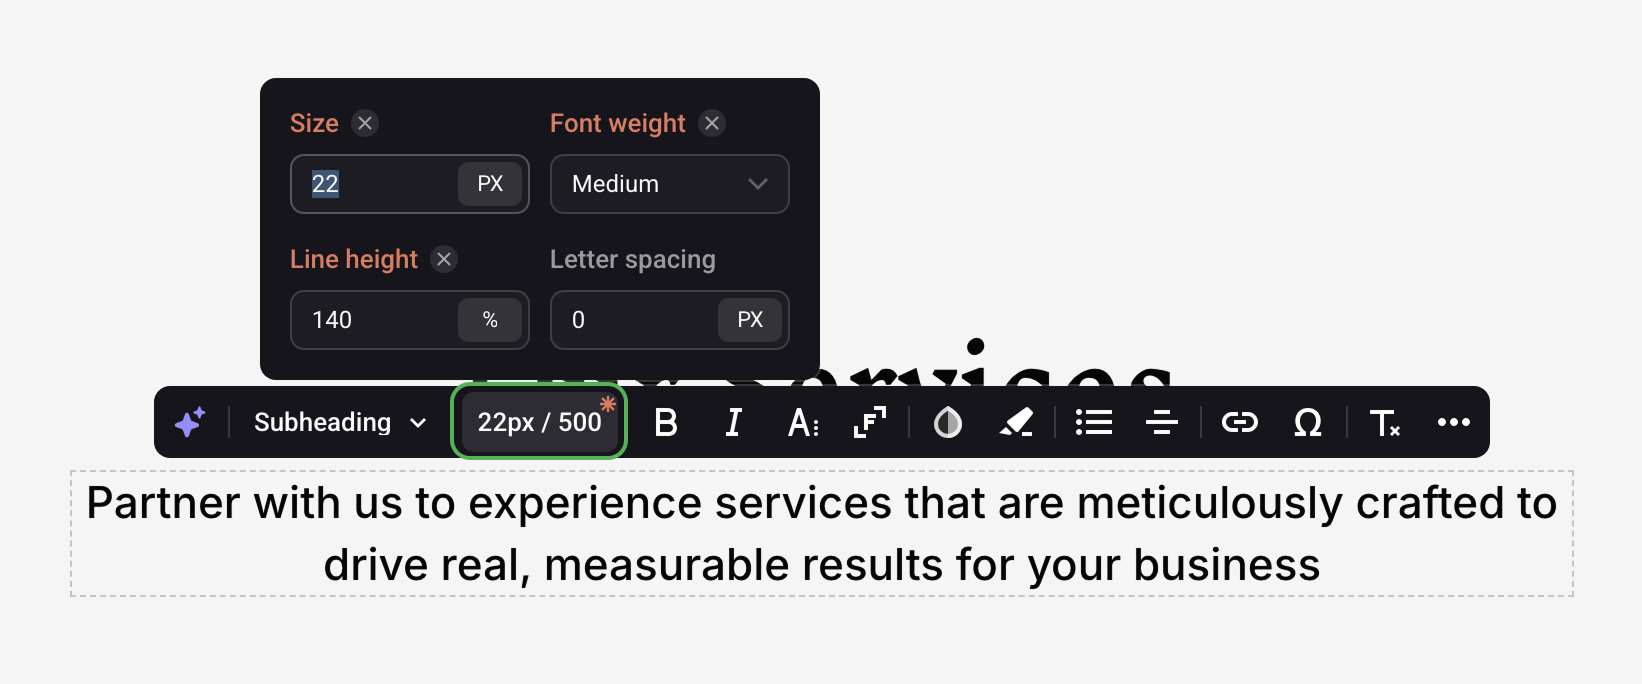
To cancel overriding, hover over the setting and click on the cross.
Adding custom styles
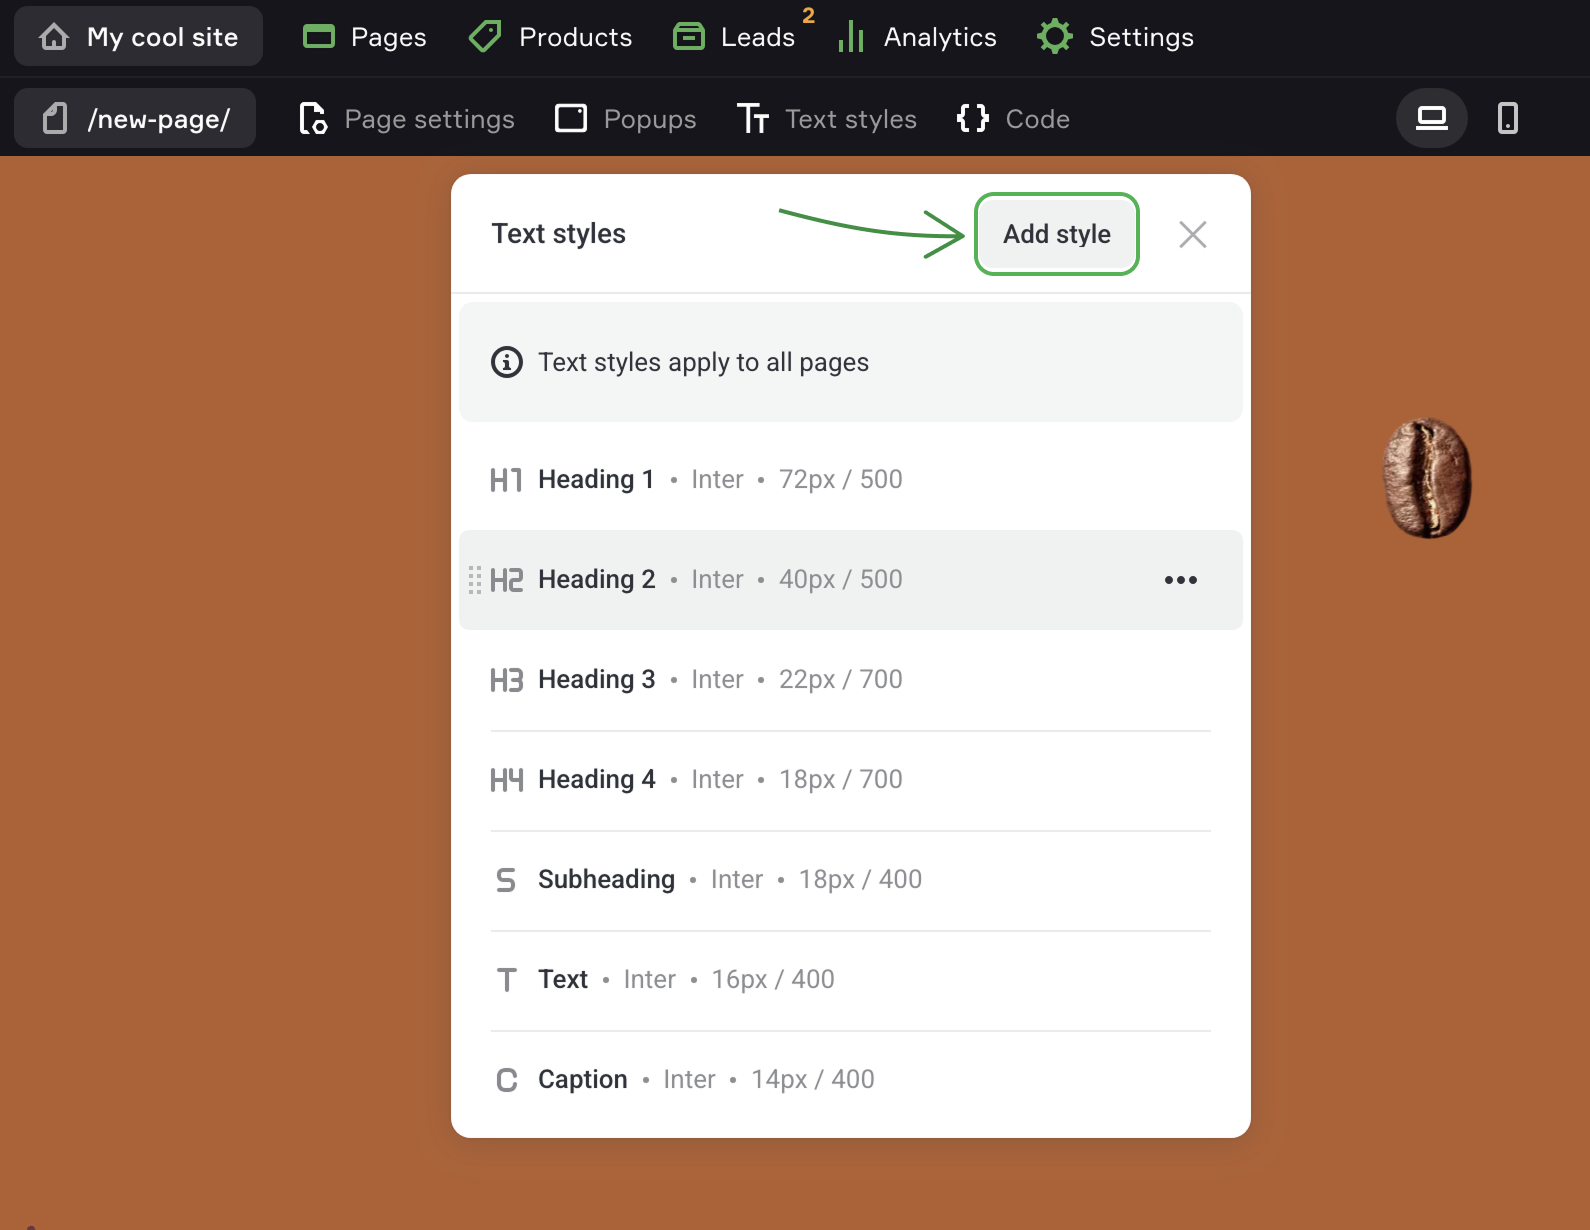
Click Add style.
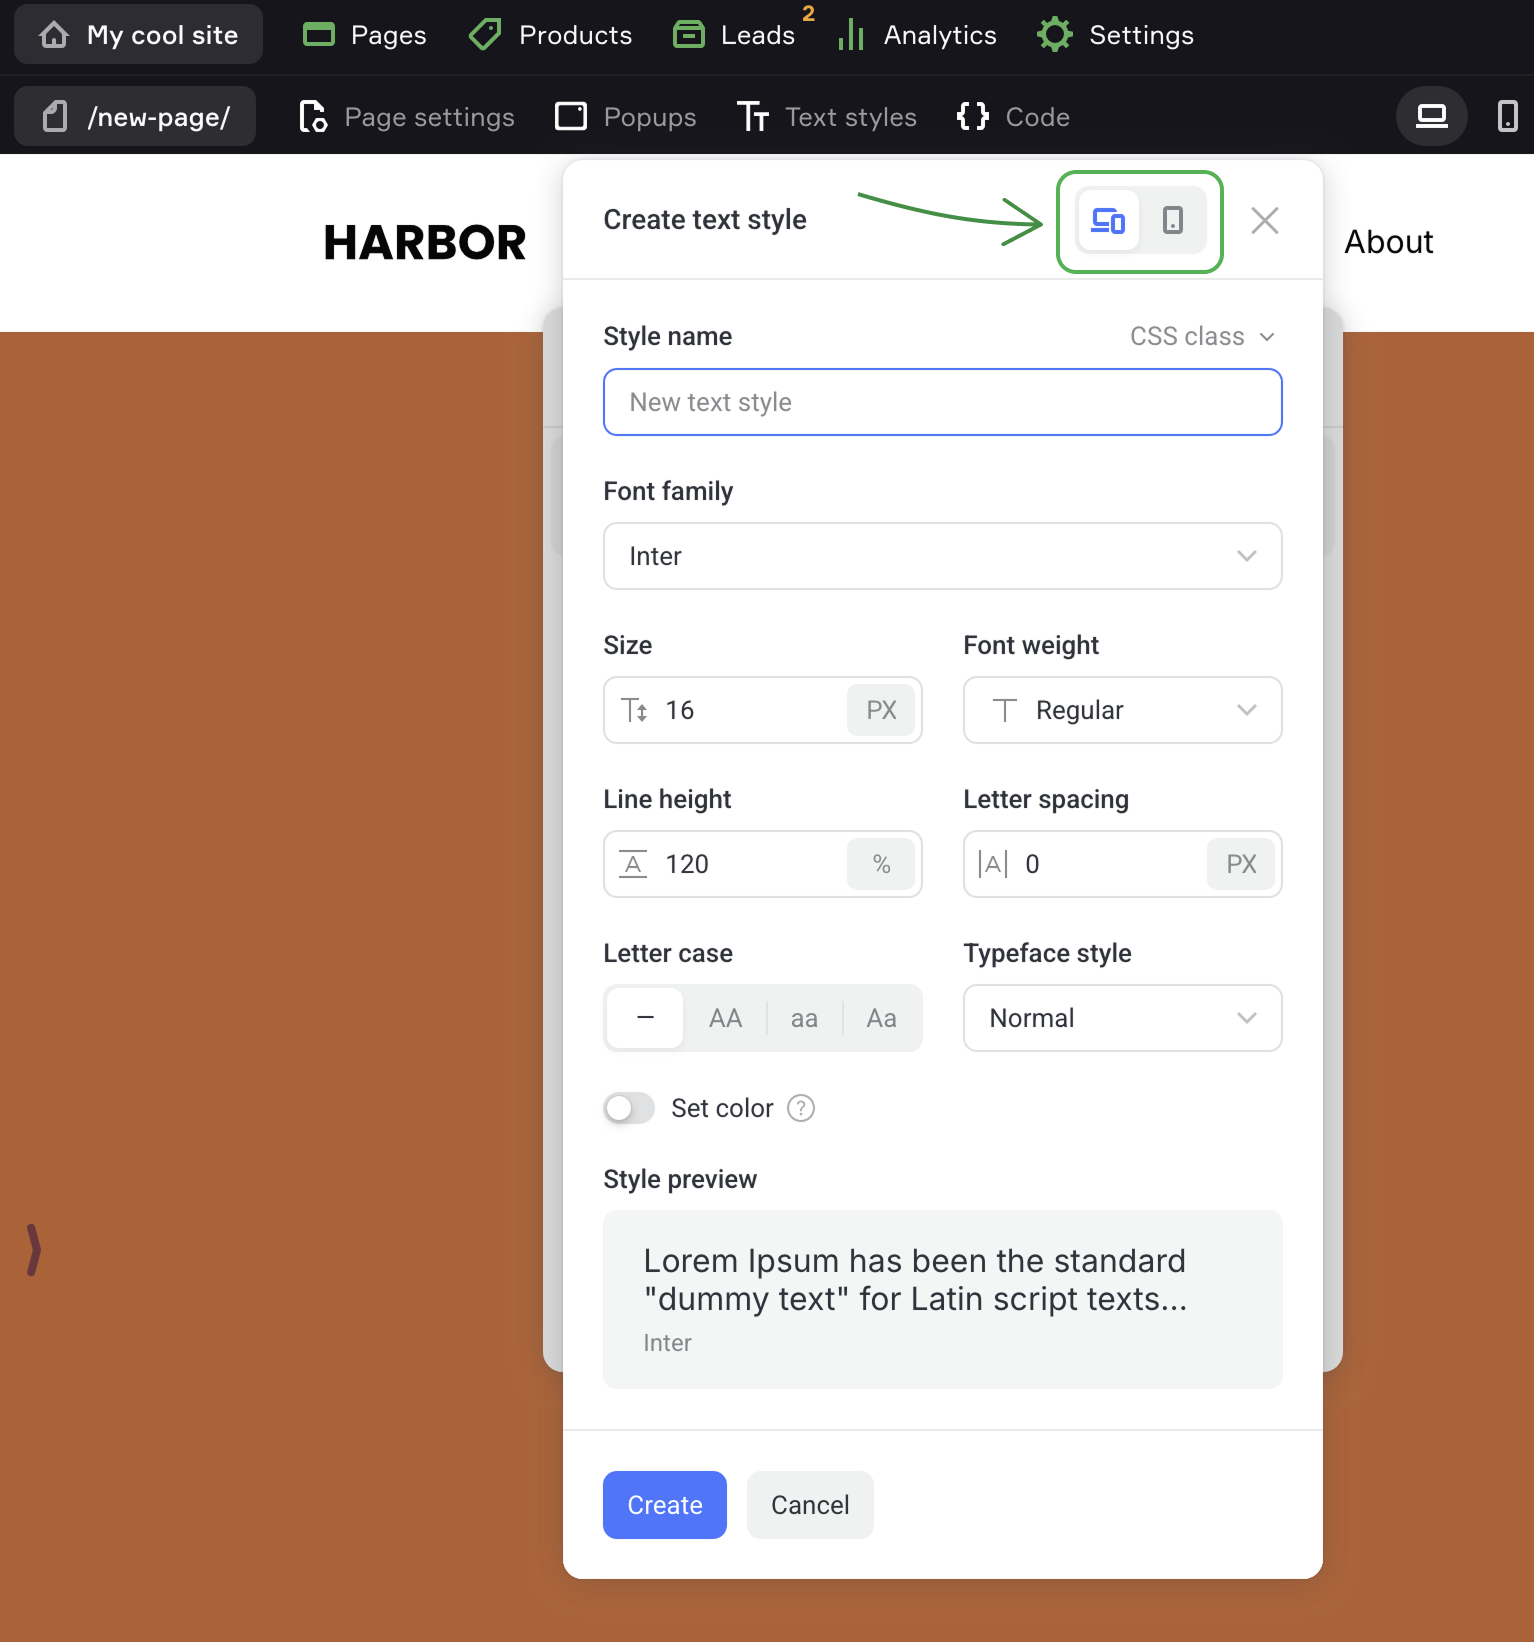
Set up the necessary options: font family, font weight, line height, etc. If needed, set up the display for mobile devices separately.
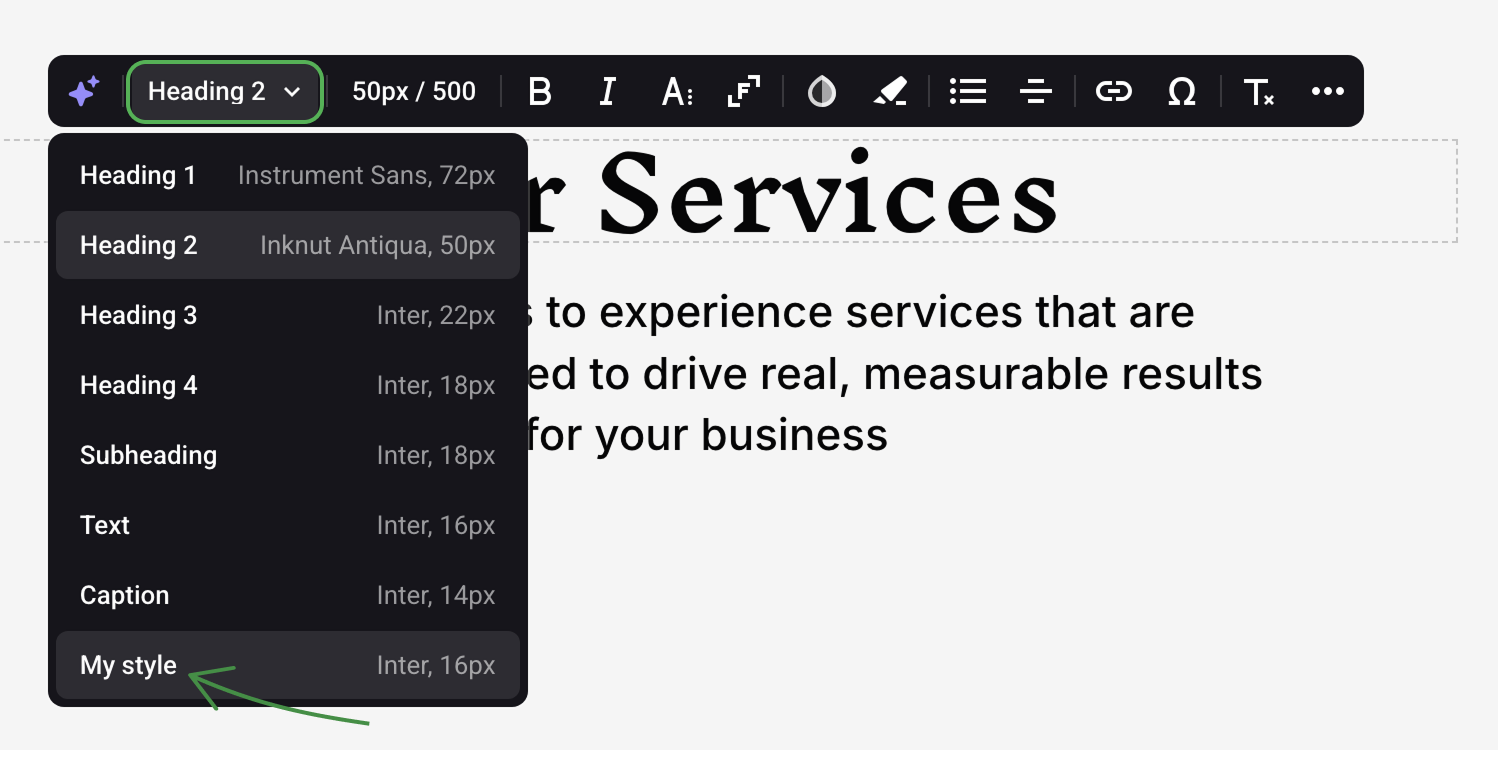
Then select the added style in the element settings.
CSS class of the custom style
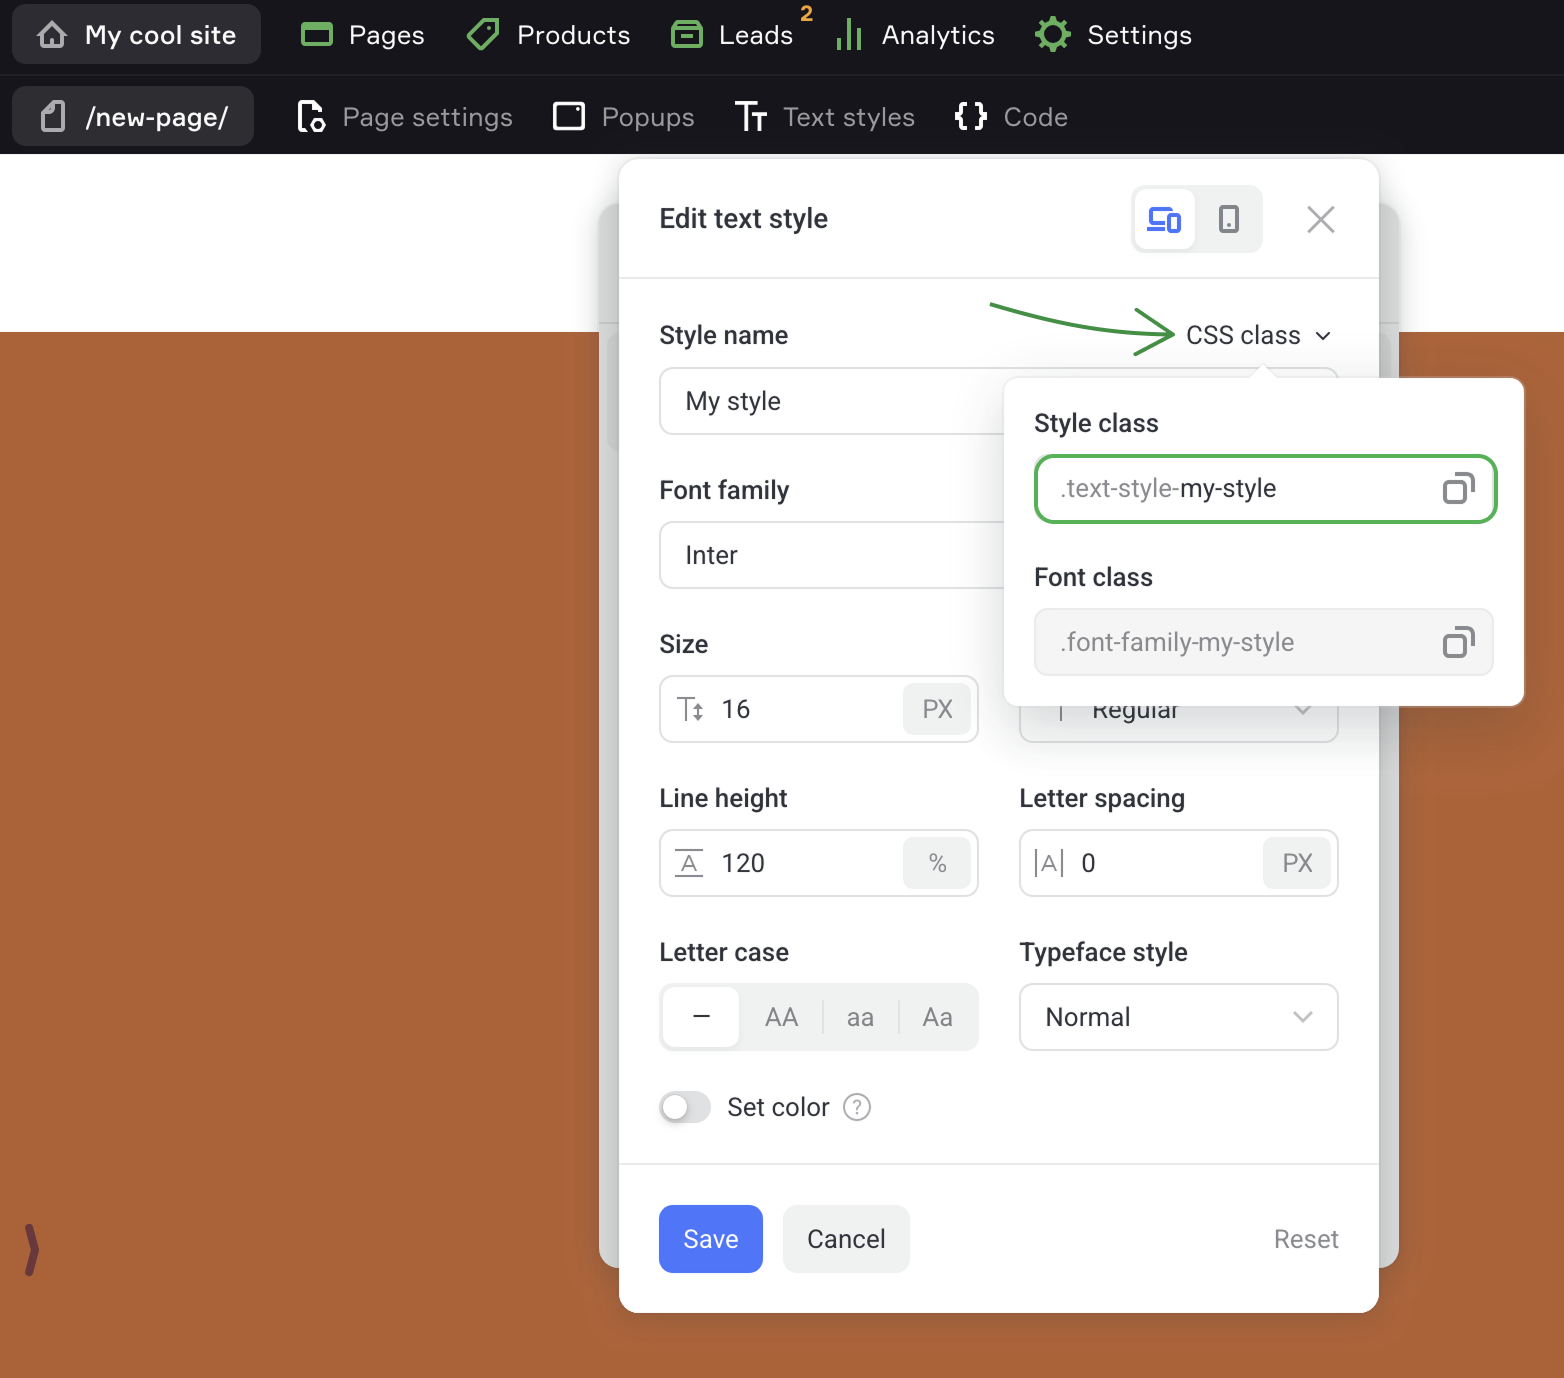
You can copy the CSS class to use any text style in your HTML code.
There are two CSS class fields in the editor:
- Style class - to apply all the settings
- Font class - to apply only the settings of a selected font family
A class name includes the style name. You can change the CSS class of any custom style that you add.
If you delete a style used on the page by accident, you can easily restore it. To do that, re-add a new style with the old style name (CSS class).
-
️ Changing the CSS class will detach the style from all elements to which it was applied since this is equivalent to deleting an old style and adding a new one with a new ID.
-
️ We don't recommend changing CSS classes as it can "break" the page layout.
-
️ Once the custom style of an element is deleted, the Text style is applied to it automatically.
Uploading custom fonts
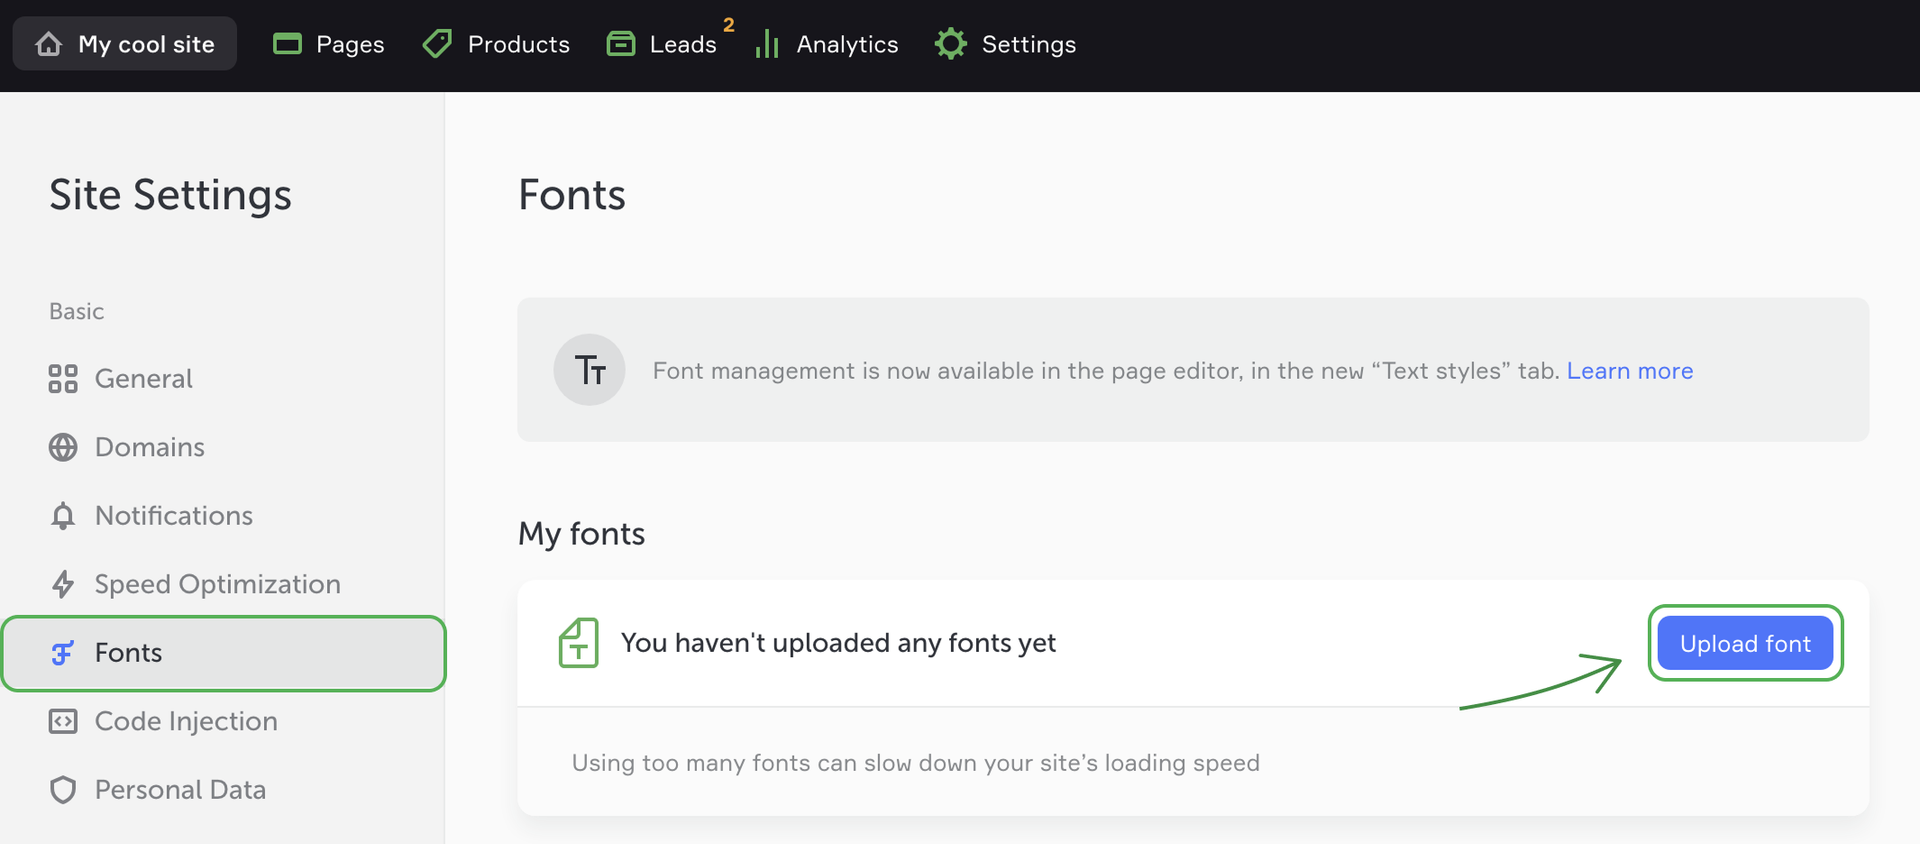
To use your own font, go to the site's Settings -> Fonts.
Click the Upload font button in My fonts.
We recommend uploading fonts in the WOFF2 format.
WOFF, TTF and OTF formats are also supported.