Absolute elements
An absolute element (or an element with absolute positioning) is an element that you can move within the section grid and outside the section as you see fit.
You can move Absolute elements by dragging them to any place on the page, even to standard sections.
NOTEStyle settings of Absolute elements don't differ from the settings of the same Static elements. To open the settings menu, double click it or hover over it and click on the gear icon.
Positioning elements
Positioning means binding elements to the top, bottom or center of the page. It allows you to define and control the place of elements across different viewports. This helps full-screen-mode sections look awesome on all devices.

To set up position of an absolute element, open the Settings panel on the right of the canvas.
First, choose a container and a dot for binding for your elements. They will serve as the starting point for positioning the element.
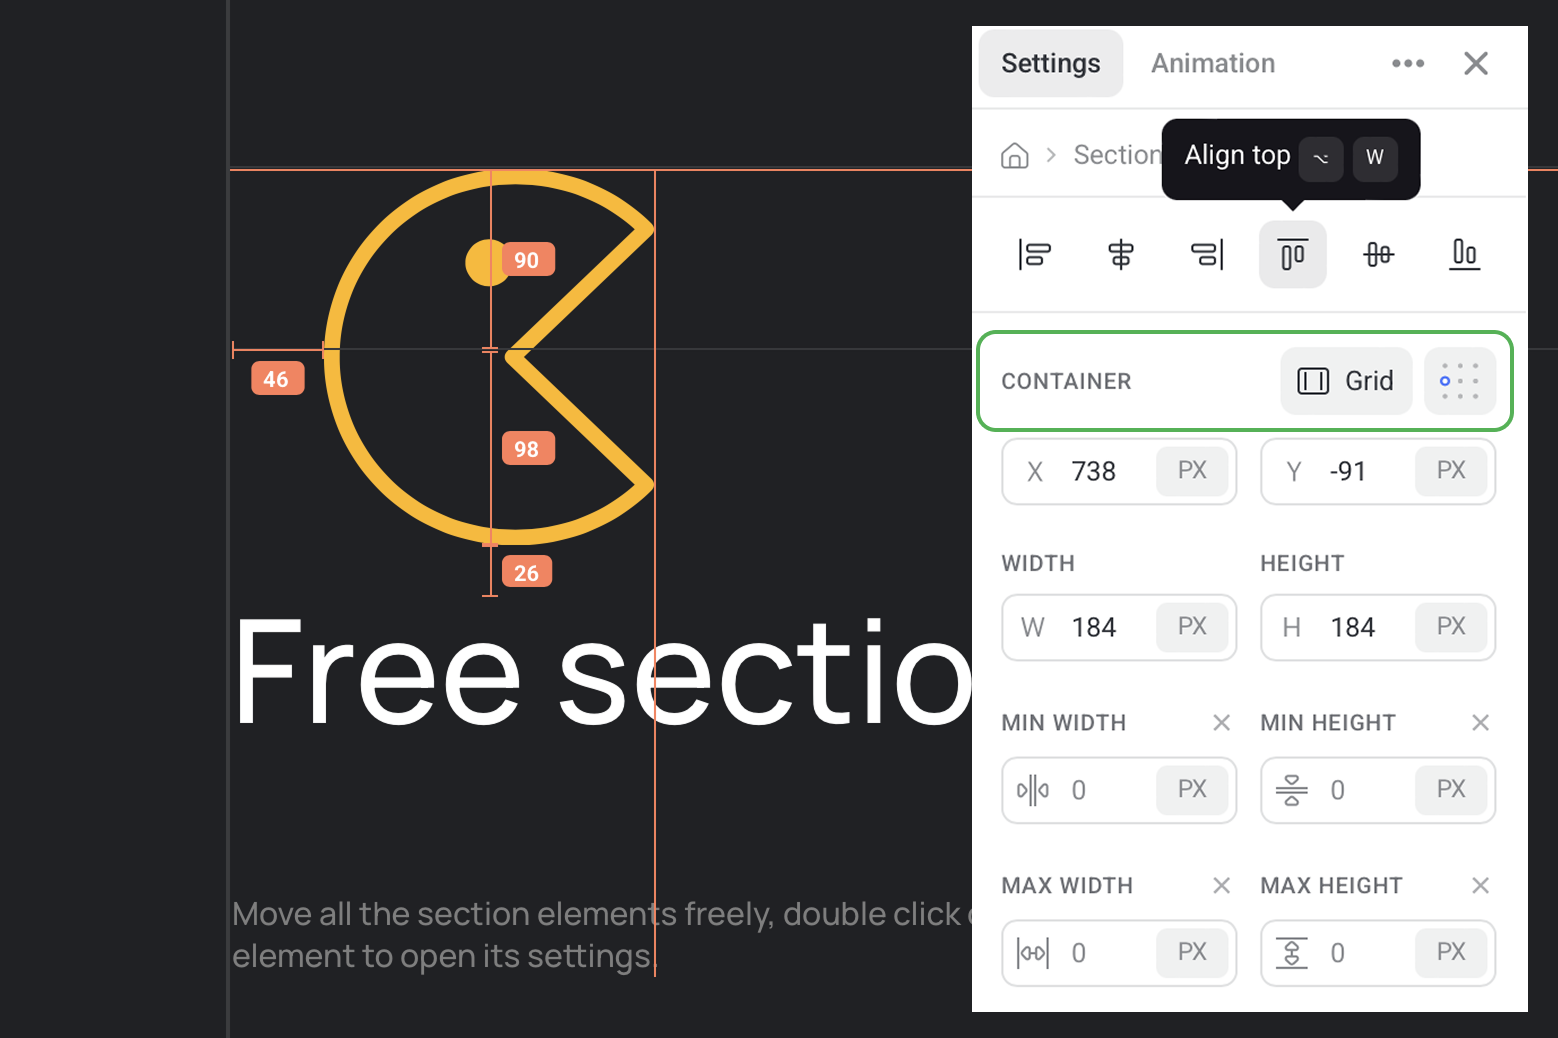
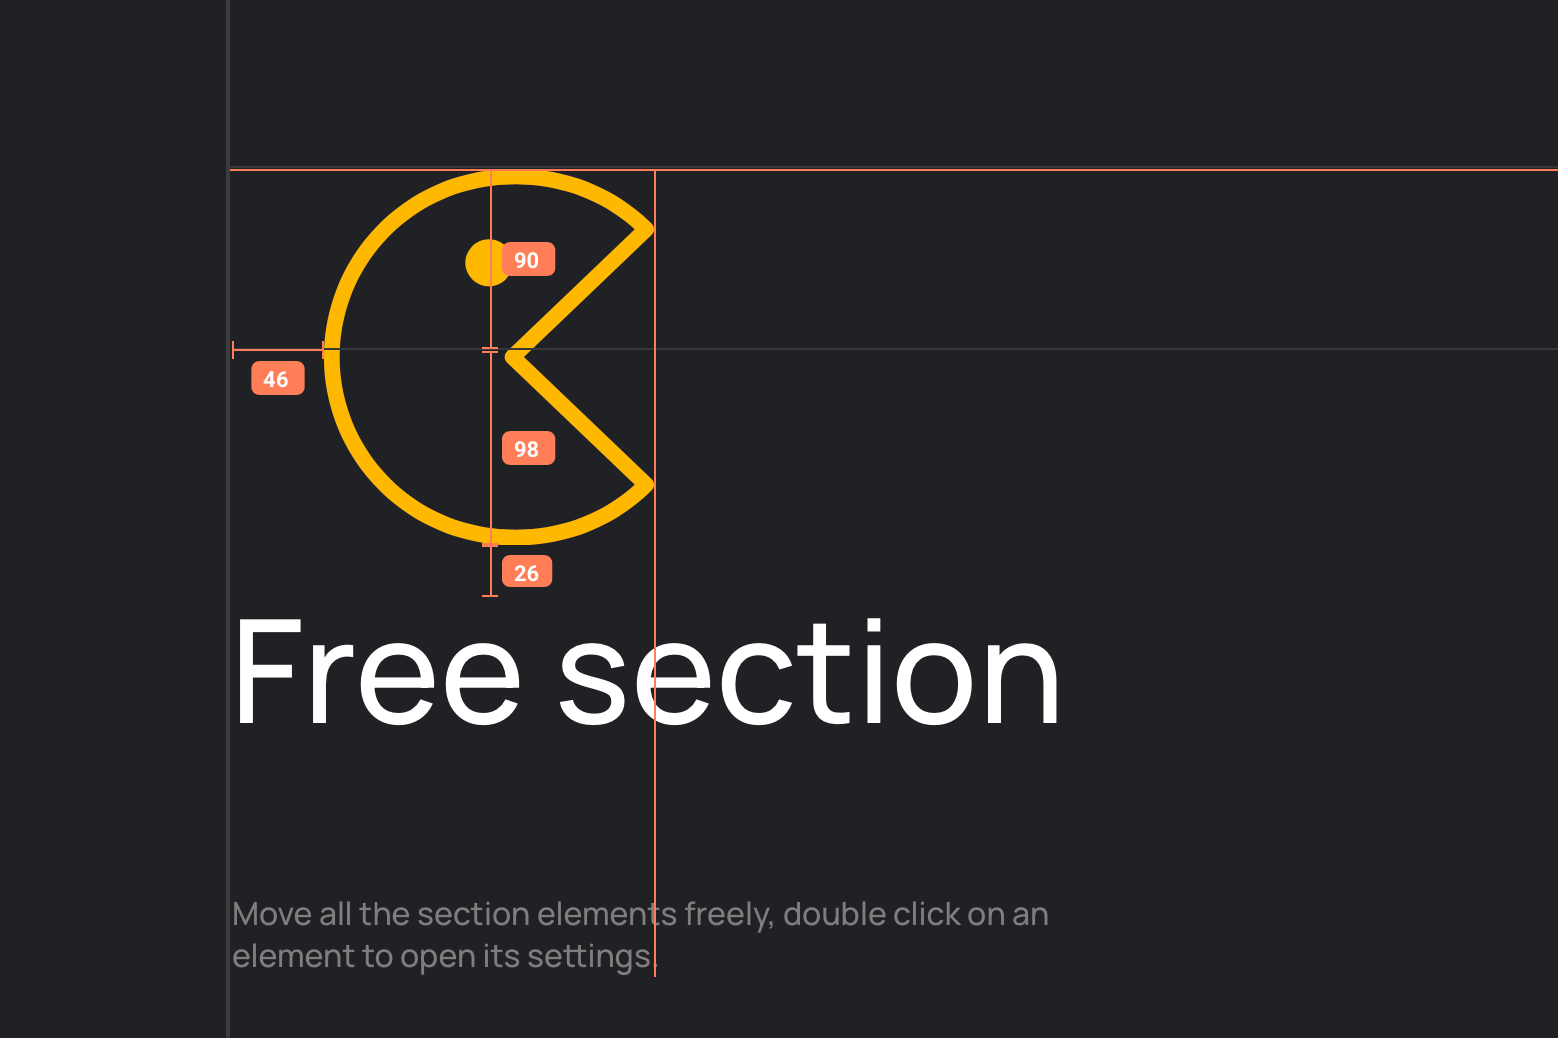
The coordinates below the Container setting show the position of your element relative to the chosen dot for binding:
- negative X values move it to the left of the dot;
- positive X values move it to the right of the dot;
- negative Y values move it up from the dot;
- positve Y values move it down from the dot.
Alignment feature is a quick way to position an element relative to its container.
Resizing elements
To change the size of an absolute element, press one of its slides and pull. The element proportions are retained automatically.
To make more precise changes to an element, enter the relevant width and height values in the Settings panel . Here you can also add Max and Min width or height values for the element.
TIPButtons and text elements have Auto width and Auto height that allow to keep paddings and unwrapped text.
Rotating elements
To rotate an element, select it and hover over one of its angles. You'll see a double-sided arrow. Press it and rotate clockwise or counterclockwise.

You can also rotate an element in the Settings panel Positive values rotate the element clockwise, and negative values rotate it counterclockwise.
Order of layers
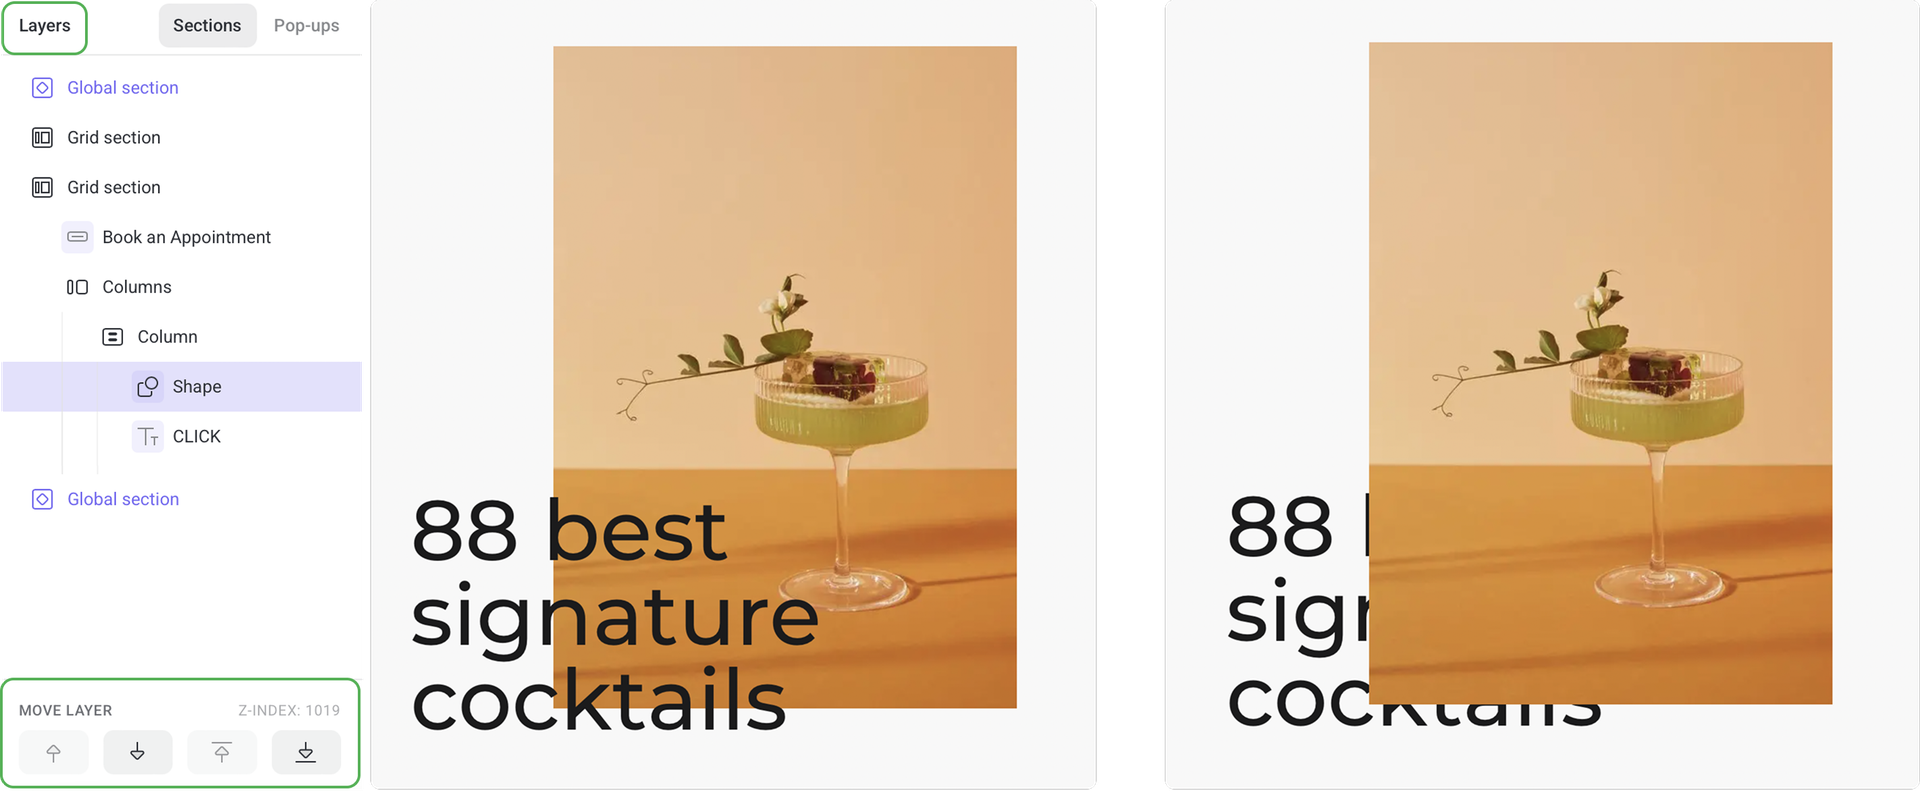
You can stack or overlap two or more absolute elements one over the other and manage the order of layers. To do this, go to the Layers panel on the left of the canvas.
To move an element one layer closer to the user, click Bring forwards; choose Bring to front if you want your element to be at the top of the stack.
To move an element one layer away from the user, click Send backwards. Choose Send to back if you want your element to be at the bottom of the stack.
Lock
This option is handy if you don't want to relocate or delete any element by accident. Locked elements are marked with a lock icon and can't be selected when you select a group of elements.
Clip to fit container
An element is cropped according to the size of its container in order not to go beyond the grid (on each side) and section borders (at the top and bottom).
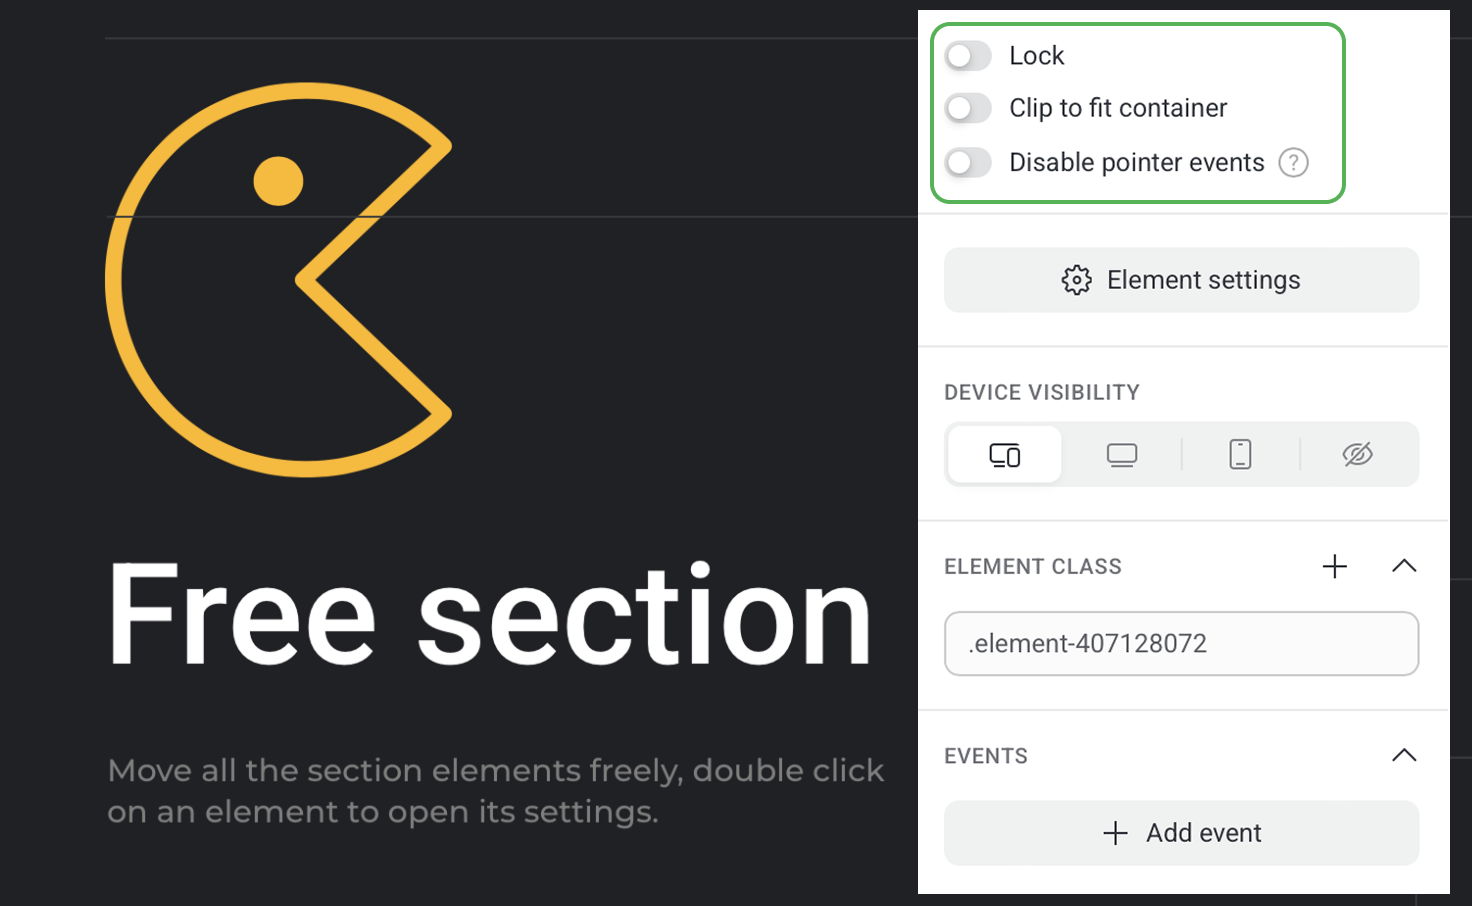
Disable pointer events
This option makes an element unclickable and unselectable for the site's visitors. It's useful, for example, when you want to create a button by combining a text element with a shape. This makes the entire button clickable, including the CAT area.
Additinal settings
In the Settings panel, you can set the device visibility of an element. By default, every element is displayed across all devices. You can decide to hide it from all devices (Hidden) or to show only on desktop computers or mobile devices.
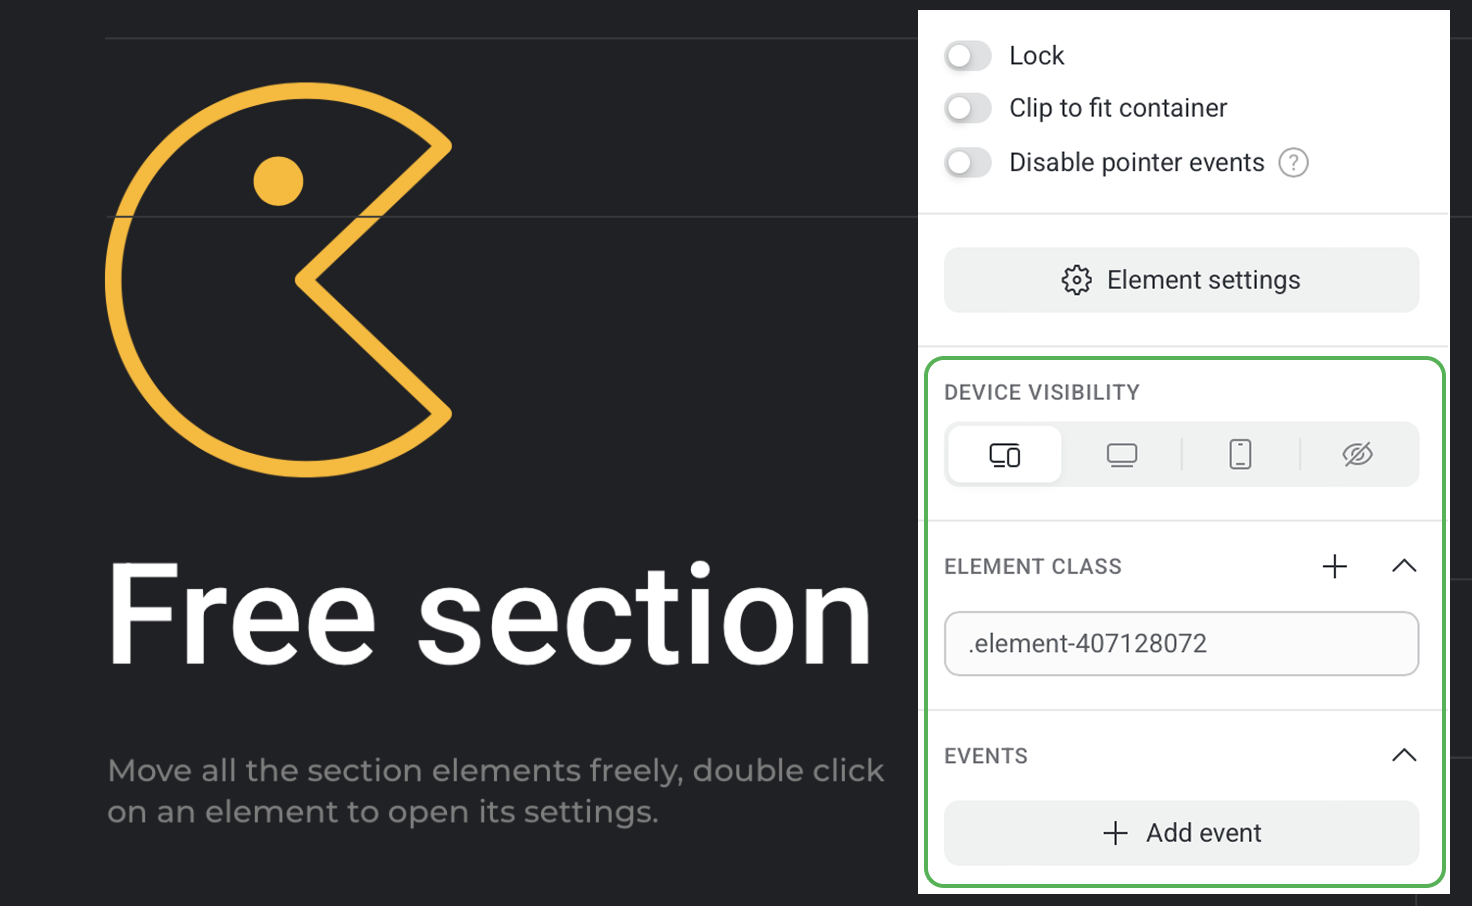
Copy the Element class to use later or Add event to specify what happens when this element enters the vieport or when site's visitors interact with it.